How to create nail extension?
Ever wanted to create beautiful nail extensions super quick and fast? Have you ever wondered how gel nail extensions are done? Or even what gel nail extension are?
I am going to answer a number of questions for you including what is a gel nail extension, why choose gel nail extension and how to apply a gel nail extension.
Gel nail extensions are the newest trend in nail technology and are extremely popular for a number of reasons. Because gel nail extensions are the newest technology, I am going to dedicate this blog to gel nail extensions.
What is a gel nail extension?
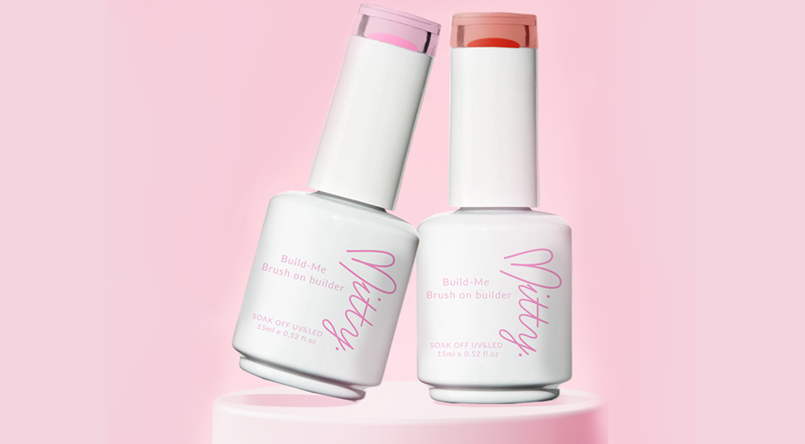
Gel nail extensions are nail extensions that use gel base products such as brush on builder gel.
There are two types of gel nail extension.
- Hard gel nail extension
- Soft gel nail extension
What is the difference between soft gel and hard gel nail extension?
They use different products. The easiest way to explain the difference is that hard gel nail extension can not soak off and need to be drilled of your nails where as soft gel nail extensions are 100% soak off. I personally prefer soft gel nail extension as I don't like filing the whole product off as it is one of the key reasons why nails are damaged.
What are the different techniques of applying soft gel nail extension?
You can use soft gel like brush on builder gel to create long nails using a number of methods such as:
- Use forms
- Use half cover nail tips
-
Use full cover nail tips

What is the difference between half cover nail tips and full cover nail tips?
Half cover nail tips are the nail tips that are applied at the tip of your nails and they don't cover your whole nails.
Full cover nail tips are the nail tips that are applied to your whole nails.
Half cover nail tips are harder to apply and they can take longer which is why I love full cover nail tips and it is the only type of nail extension I provide in our salon.
Why are full cover nail tips better than forms or half cover nail tips?
Full cover nail tips allow you to create nail extension easily at home or at a salon without having to file or shape the nails. This means you are guaranteed to have perfect shape every time. Also because these nail tips don't require any filing, they can be done faster than any other nail extension system. Here are just a few reasons why we love these nail extension method so much at Mitty.
- No filing required to shape the nails or make them thin like Coffin nail tips, Stiletto nail tips, Almond nail tips or Square nail tips.
- It is super fast
- It is easy and anyone can learn to do it
- They feel like your own nails
- No smell or dust
- They are strong
- They can last up to 3-5 weeks
What products do you need to create nail extension using full cover nail tips?
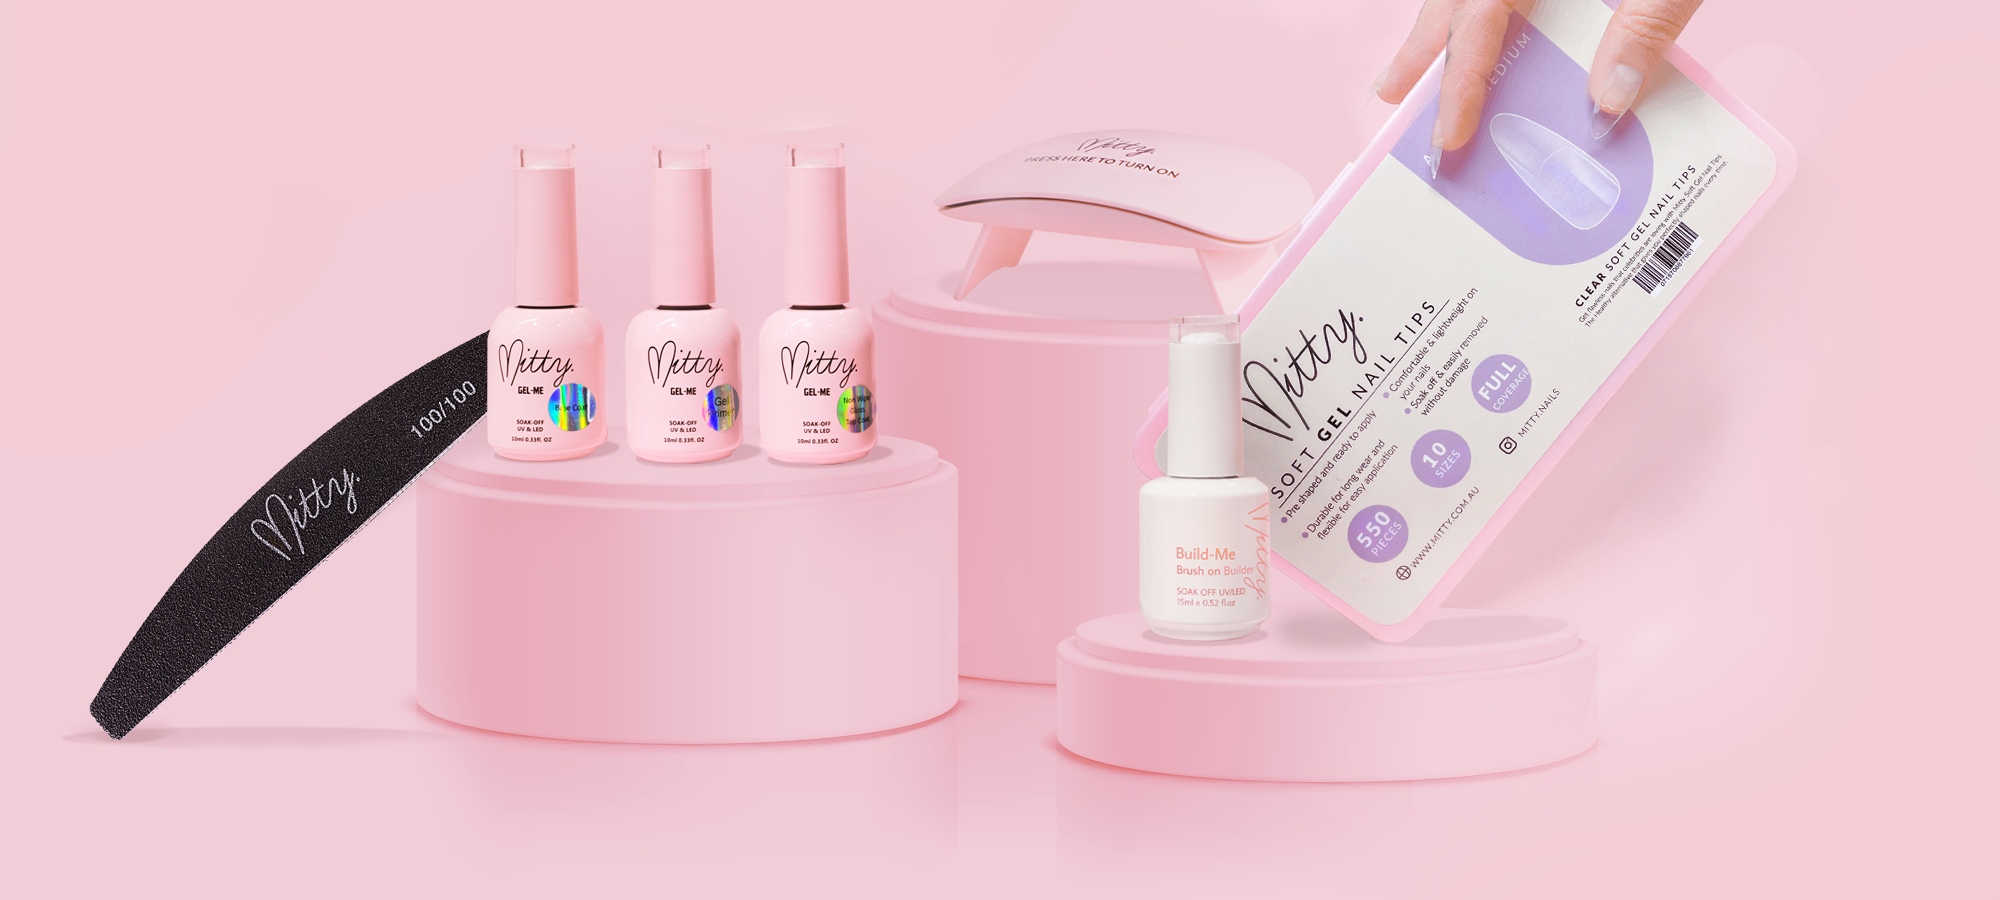
To create nail extension using full cover nail tips, you need a few products that are:
- Full cover nail tips
- pH Bonder
- Gel Primer
- Brush on Builder Gel
- 180/180 grit nail file
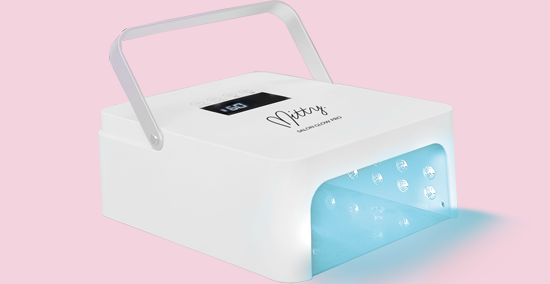
- UV LED nail lamp
You can always purchase a kit that has these items which gives you a great starting point. Mitty has a nail extension kit that is super easy to use to create long nails.
How long do nail extension last?
If applied correctly and depending on your life style, they can last up to 3-5 weeks. There are some scenarios were they may last less which they can be:
- Improper application
- Damaged nails
- Constant contact with water
- Oily nails
How to create nail extension using full cover nail tips?
There are few key steps that you need to do to ensure your nail tips are applied correctly and they last. These steps are:
- Proper nail preparation
- Choosing the right nail tips that fits correctly
- Correctly adhering the full cover nail tips
Steps to create the perfect nail extension at home:
- Buff the surface of your nails with a high grit nail file like Mitty 180/180 nail file. Buff in one direction and remember, you are trying to rough up your nail surface, not make them smooth. Dust your nails & clean with alcohol. Remember we don't want any nail dust causing lifting.
- Push your cuticles back and remove any excess cuticle. You can use an e-file if you have been trained otherwise a cuticle remover would be just fine.
- Now we need to make sure we use the right nail tips that fits perfectly. If the nail tips is too big or too small, it may not stay long on your nails. A perfectly sized nail tip is the one that sits comfortably on your nails and it doesn't go over your cuticles nor does it have a gap showing your own nail. If you can't find a nail tip that is the perfect size, find a nail tip that is slightly bigger. File the side of the nail tip to fit your nail. This step is very important. Make sure there are no gaps on the sides of your nail and nail tip. Also make sure the nail tip is not sitting on your cuticle. It should feel very comfortable, like your own nails.
- With either normal file or electric file, gently file inside of the nail tip. This will help in making sure the nail tip will adhere to your nail. Remove any dust and add Mitty Gel Primer inside of the nail tip to help with adherence. Note: if you are using e-file, we suggest to you the 180 grit sanding band for this.
- Gently file the top edges of the nail tips so that the nail tip is thin and will sit on the nails creating a natural smooth finish.
- Your nails have natural oils. These oils stop the builder gel and nail tips from adhering to your nails and causes lifting. It’s important to ensure the nail surface is clean. Clean the nail surface with alcohol. Then apply Mitty pH Bonder, let it dry followed by Mitty Gel Primer. Let dry. pH Bonder and Primer prepare your nail surface and make it sticky so that the nail tips will adhere to your nails.
- Apply a thin layer of Brush on Builder Gel & cure for 60 seconds in a strong LED lamp like Mitty 54W LED lamp.
- Now apply Brush on Builder Gel inside the nail tip. Don't cure. Push down the nail tip into your nail starting from the cuticles and moving towards the end of your nail slowly allowing the builder gel to fill in the gap between your nail and nail tip. Make sure there are no bubbles. If you get bubbles, start again.
- When happy, keep the nail tip in place with your fingers and use a portable LED lamp like Mitty 6W mini LED lamp to cure for 20-30 seconds. This step is called flash curing. It allows the nail tip to sit on your nail temporarily so you can move your nails under a bigger LED lamp. If you don't do this step, the nail tip will lift off or pop off before you put your hand under LED lamp.
- Once all your fingers on one hand are done, cure your hand for 60-180 seconds.
- If you would like to add Gel Polish or nail art, buff the surface of the nail and remove any excess nail dust.
- Apply two thin layers of gel polish and cure each layer for 60 seconds for 60 seconds. Now apply your top coat and cure for 60 seconds.
Watch the video below showing how to create nail extension using full cover nail tips.
How to remove gel nail extension?
A gel nail extension is 100% soak off in pure acetone. However there are a few steps to do so that you can easily remove them.
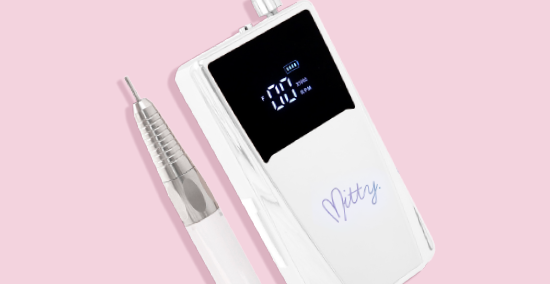
- File as much of the nail extension as you can using a low grit nail file like Mitty 100/100 grit nail file. This step can be much easier if an e-drill (e-file) like Mitty portable nail drill and using Smooth Top Barrel-Medium nail drill bit if you are trained on how to use an e-drill.
- Now we need to soak the nails with pure acetone. Cut a cotton pad into 4 peices. Now place acetone on the pad, slip the pad inside your Mitty Polish off Soakies and slide the soakie onto your finger. If you don't have Mitty Polish off Soakies, you can use aluminium foil however aluminium foil is harder to use and it's not environmentally friendly.
- Wait 10-15 minutes and remove the Soakies. Use a cuticle pusher to remove softened gel. If all products are not removed, repeat step 1-3 until all gel products are removed.
- Once all gel products are removed, buff the surface of your nails and apply a good quality cuticle oil like Mitty 100% certified Australian organic Cuticle Juice.
Watch the video below showing how to remove nail extensions.
Where to buy nail removal kit?
You can purchase builder gel remover kit from our website directly.
We hope you enjoyed reading this blog, you can comment below or email us if you have any questions info@mitty.com.au




Hi i was wondering after you have applied the gel enhancements and buffed it up slightly do you have to apply a gel polish base coat or can you use a gel polish colour straight onto them?
Leave a comment