Tips and tricks on how to apply plant based polish
Are you tired of your nail polish looking like a hot mess? Do you envy those perfectly polished nails you see on Instagram? Well, fear not! We've got some tips and tricks that will have your nails looking salon-worthy in no time. Get ready to become a nail polish pro!
Get started with the right polishes
Ladies and gents, picture this: your nails are the canvas, and the polishes are your magical paintbrushes. Having the right polishes is like having the keys to a treasure chest of endless possibilities. You can go bold, elegant, sparkly, or subtle—all at your fingertips without the struggles! So, don't waste your time with crap quality; You deserve the royal treatment. With the right polishes, you're not just painting nails easily; you're painting dreams, expressions, and a touch of your fabulous self. So, go ahead, explore our palette, and let's make your nails the talk of the town! After all, life's too short for dull nails, darling! 💅✨
What is the difference between plant based and other normal nail polishes?
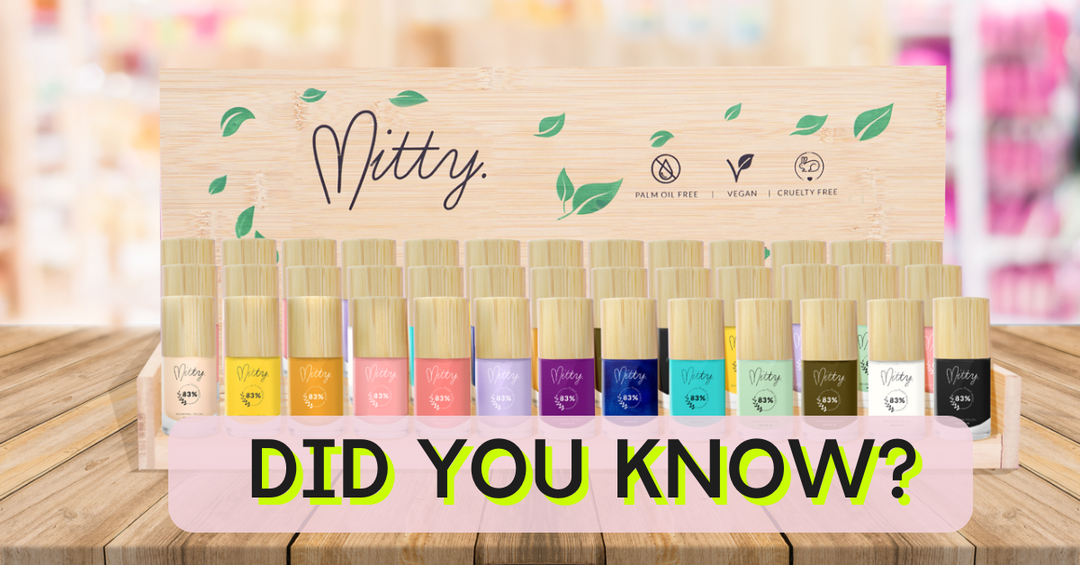
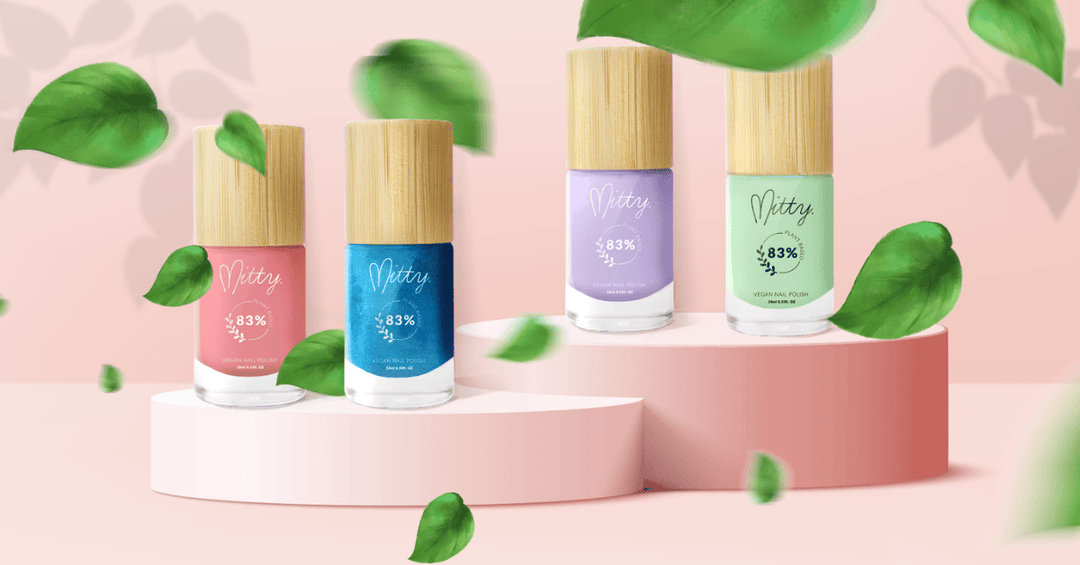
Mitty plant based polishes are a stunning 83% plant based formula. This means that 83% of the ingredients in each bottle is made up of plant derived materials sourced from sugarcane, manioc, potato, and corn. This formulation allows the polish to be toxic free, eco-friendly, and certified vegan. They are also quick drying and breathable, which allow water and oxygen to pass through to the nail plate.
By being plant based they reduce the exposure to harmful substances such as formaldehyde, toluene, phthalates, camphor, and acetone, which can cause allergic reactions, skin irritation, headaches, nausea, and damage to the nervous system. They are more sustainable and ethical than conventional nail polishes, as they use renewable and biodegradable resources instead of fossil fuels and animal products. We also care about our packaging being eco friendly so we use materials like glass and bamboo.
Our plant based polishes are safe for everyone! They are especially ideal for anyone who is allergic or sensitive to chemicals found in conventional polishes.
Our commitment to being vegan and eco friendly does not compromise on quality. There are currently 38 stunning vibrant shades in our collection that applies flawlessly and boasts staying power.
So not only you get an easy application but also your nails will thank you
Now let's get you started on having amazing nails. First step is prep.
We start with prep
Before we dive into the application process, let's talk about the importance of nail prep. Prepping your nails is like laying the foundation for a flawless manicure. Start by removing any old polish and giving your nails a good scrub. This will help the polish adhere better and last longer. Don't forget to shape and buff your nails for a smooth canvas.
How we do this?
Wash hands and remove oils from the surface of the nail. Slightly etch the surface of your nails with a fine file.
Wipe with isopropyl alcohol for long lasting retention.
Choose the Right Base Coat
Just like a good primer before applying makeup, a base coat is essential for a long-lasting manicure. It not only protects your nails from staining but also helps the polish go on smoothly.
Plus, using base coat will provide a smooth shiny surface for the colour to glide on evenly.
Apply a thin layer. Allow to dry for 2-3 minutes.
Master the Polish Application
Now comes the fun part - applying the polish! Start with a thin layer in the center of your nail, then carefully swipe the brush along the sides. Remember, it's better to apply multiple thin coats than one thick gloopy mess. Allow each coat to dry before applying the next to avoid smudging.
Pro Tip: The Cleanup Hack
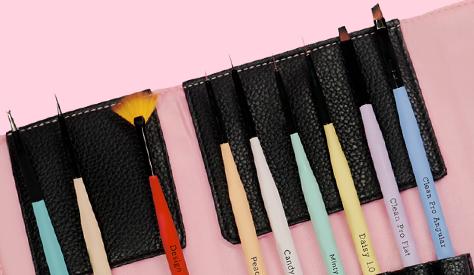
We've all been there - a little slip of the brush and suddenly your cuticles are covered in polish. Don't panic! Grab your Mitty Clean Up Pro Angular or Flat brush, dip it in some nail polish remover, and gently clean up the edges. It's like magic!
Seal the Deal with a Top Coat
Once your polish is dry, it's time to seal the deal with a top coat. This not only adds shine but also extends the life of your manicure. Look for a fast-drying top coat to minimise the waiting time. Trust us, a good top coat is the secret to a chip-free and glossy finish.
Final Thoughts
There you have it - our top tips and tricks for flawless nail polish application. Remember, practice makes perfect, so don't get discouraged if you don't nail it on the first try. With a little patience and some colorful polish, you'll be rocking fabulous nails in no time. Happy painting!


- One of the most important tips for a long-lasting manicure is to cap the free edge with each coat of polish, but especially with the base and top coats. Capping the free edge means applying a thin layer of polish along the tip of your nail, covering the exposed edge. This helps seal the polish and prevent it from chipping or peeling off. The base coat and the top coat are the most crucial for this step, as they form the foundation and the protection for your colour. Make sure you cap the free edge with every layer, but pay extra attention to the base and top coats for a flawless manicure that lasts!
- Avoid soaking your nails in water immediately before or after painting them, wait at least an hour. Water can make your nails expand and contract which will cause your polish to peel and crack. It can also make your polish look dull if they haven’t completely dried yet.
- If you don’t have isopropyl alcohol at home you can use some vinegar instead to cleanse your nail plate. It can also help to prevent infections and fungus from growing on your nail bed. Just soak a cotton ball in some white vinegar and wipe it over your nails and allow to dry before applying polish. You'll be amazed by how shiny and smooth your nails will look!

- Mix your bottle of polish by rolling it between your hands instead of shaking it. This will ensure that the polish is evenly distributed and smooth. Shaking it can form little bubbles that can make it difficult to get an even coat. Rolling can also help warm up the polish slightly, which can make it easier to apply and dry faster.
- One of the most important tips for painting your nails like a pro is to make sure each coat is completely dry before applying the next. This will minimise the drying time and prevent smudging. You can check this by gently touch two nails together. If they feel sticky or tacky, they are not dry yet.

- One of the best things about top coat is that you can use it to revive your manicure whenever you want. If you notice that your nails are looking dull or chipped, you don't have to redo them from scratch. You can simply apply another coat of top coat over your existing polish and watch it transform into a shiny and smooth finish. Top coat also helps to protect your nails from damage and extend the wear time of your polish. It's like a magic potion for your nails!
- If you get some on your skin just grab a small brush dipped with nail polish remover to wipe it off. This is a quick and easy way to fix any mistakes and make your nails look flawless. Just be careful not to rub too hard or you might irritate your skin. Also, make sure to wash your hands with soap and water after using nail polish remover to avoid any dryness or irritation.
- You can use a hair dryer on a cool setting to speed up the drying process.
- You can also put your hand in cold water to speed up the drying process.




Leave a comment