

What is Builder Gel? Your Ultimate Guide to the Latest Beauty Trend
Are you ready to unlock the secrets of stunning, long-lasting nails? Meet the game-changer in the world of nail enhancements: Builder Gel, also known as Builder in a Bottle (BIAB). This thick-viscosity gel is the go-to choice for nail enthusiasts who crave not just beauty but strength and durability. Wondering how it differs from other nail products? Get ready to dive into the realm of builder gel, where we'll explore its unique properties and why it's revolutionising the way we create breathtaking artificial nails.
Whether you're dreaming of custom shapes, repairing damaged nails, or simply seeking a quick-dry solution, builder gel has you covered. With two distinct categories to choose from - soak off and hard gel - you'll be spoiled for choice. Get ready to elevate your nail game with the wonders of builder gel!
The Basics: What is Builder Gel?
Here's the easy version... Builder Gel is softer than other gel products, but it creates a much stronger overlay on the nails than traditional gel nail polish. So, it’s great for helping your natural nails grow. If you’re a nail-biter, it’s also a sound option to protect your nails because it’s too rigid to bite through.
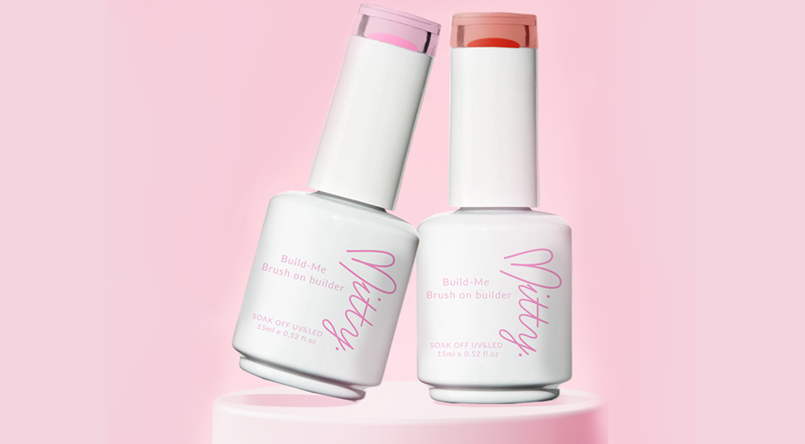
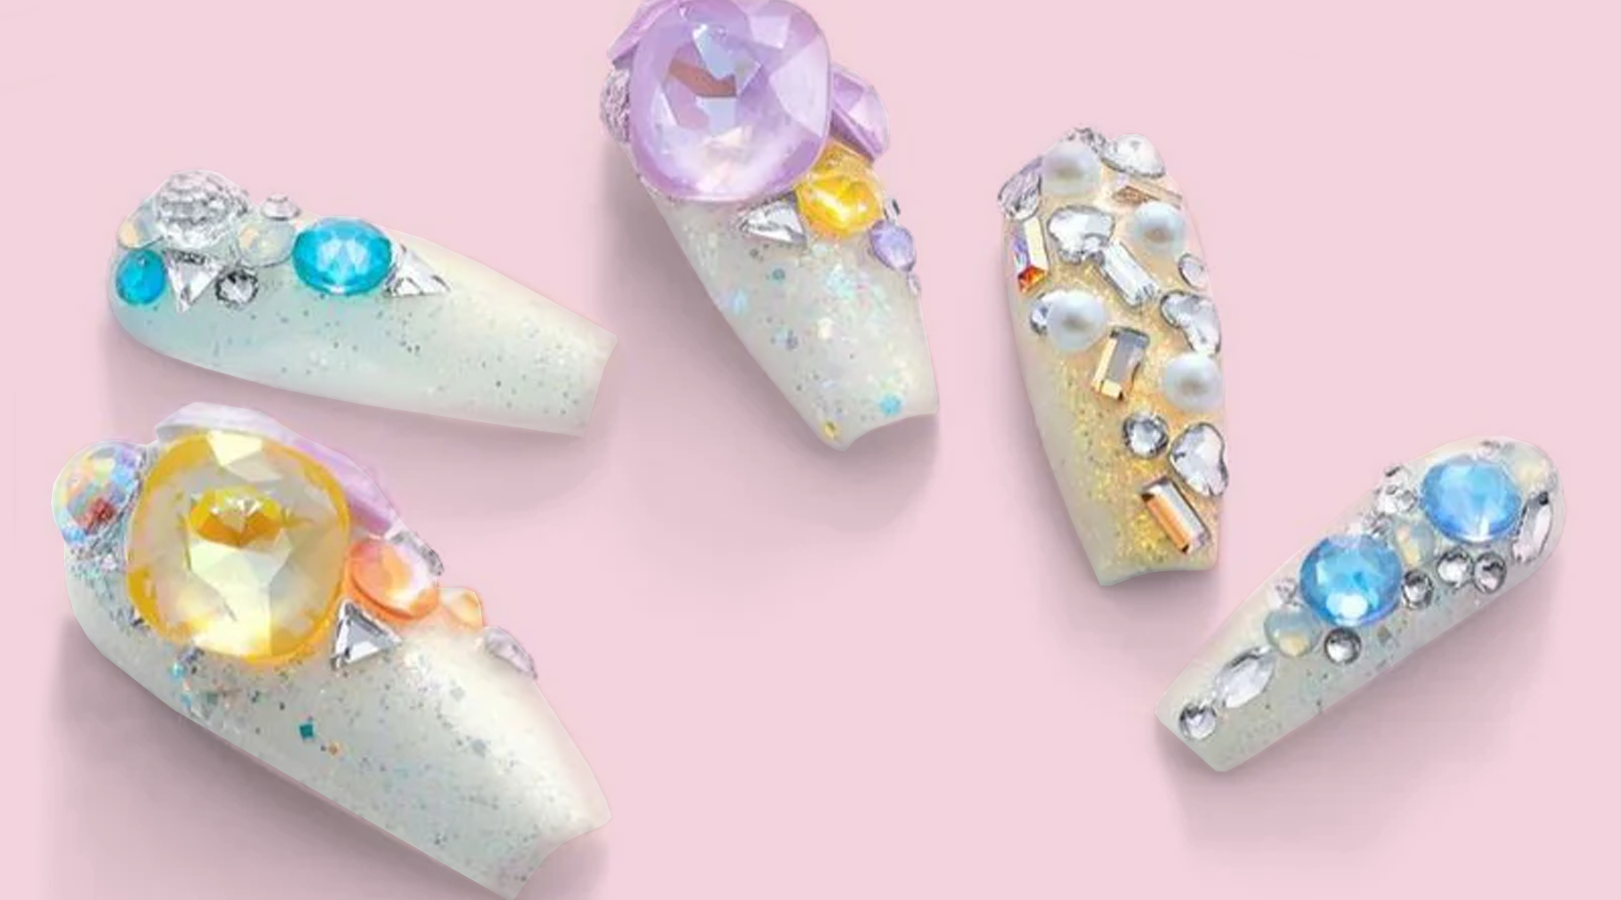
Builder gel comes in different colours but clear, nude, and light pink shades are the most popular. Builder gel can be used like your average nail polish, or you can apply a structured layer to strengthen your nails (called an overlay) and top it off with a traditional gel or nail polish to add colour or trendy nail art. It can also be used to create short gel extensions or as a adhesive to bond full cover gel extensions to the natural nail.
Benefits of Builder Gel
Builder Gel is the hottest trend in the beauty world right now... and that's not an accident. Here are just some of the many unique benefits that Builder Gel offers professional and amateur nail artists:
- Builder Gel is odourless and doesn't produce strong fumes, making it much more pleasant to work with.
- It's flexible and resilient, allowing the nails to bend and bounce back without cracking or lifting.
- The product boasts great durability, holding up to wear and tear for up to five weeks.
- Easy to control and shape, giving a smooth and natural-looking finish.
- You can soak off builder gel with acetone or file it off.
How to Apply Builder Gel
Applying Builder Gel is a little different to applying traditional polish. But even though the process takes a little longer, you can still do it at home.
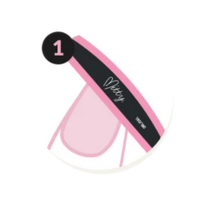
1. Prepping the nails is key. On clean hands, use a hand file to shape natural nails into your desired shape and push back cuticles with a cuticle pusher.
2. Use the hand file or sanding band to gently buff the surface on the nail. Make sure the surface is completely matte. Any areas that remain shiny will causing product lifting.

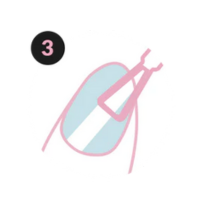
3. Cleanse the surface area with isopropyl alcohol and a lift free wipe to remove all dust. Wash hands if necessary.

4. Apply pH bonder and let air dry. Follow with Mitty Gel Primer. Avoid touching the skin.
5. Apply the base coat - a thin layer of Builder Gel.
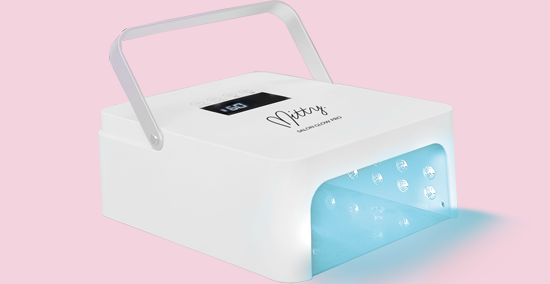
6. Cure for four cycles in a Mitty 6W LED Lamp.
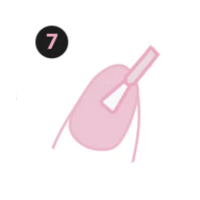
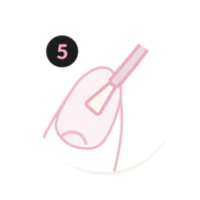
7. Apply a layer of Builder Gel onto nail and do not cure. This is the slip layer. Apply a small ball of product to back third of the nail, avoid touching the cuticle. Slowly move the brush side to side to the free edge of the nail. To help create an even surface, tip the finger upside down and allow gravity to pull the product towards the centre and create an apex on the nail.

8. Cure your nails again for another four cycles.

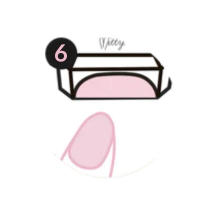
9. Congratulations! You've applied your Builder Gel. Now it's time to assess the shape of your nails. Use a 180 or 100 grit hand file to help refine the shape if necessary. The builder gel should be thin around the edges and thicker at the apex.

10. Now's the time to add your Gel Polish colours or nail art!
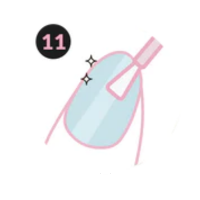
11. Apply a thin layer of Mitty Top Coat.
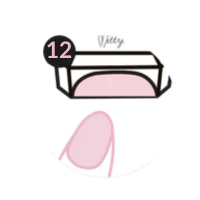
12. Cure your nails one more time for another four cycles.
Voila! You have successfully applied a new set of Builder Gel.
It takes practice to be able to manoeuvre the gel swiftly and to get that perfect shape without filing. But the best thing about gel is that you can always wipe it off and start again if you haven’t cured it.
How to remove Builder Gel
Applying your Builder Gel is only part of the story. What happens when you're ready for a new design? Removing Builder Gel can seem daunting if you've never done it before, but it's perfectly doable. There are just a few things to keep in mind.
The most important thing is not to peel or force the gel off. If you do this, it can damage your natural nails. And we certainly don't want that!

1. File off bulk of product with file of choice until there is only a thin layer of product left on the nail.

2. Cut up cotton pads into quarters or unroll cotton balls and cut in half. Soak cotton in acetone and use the Soakies or aluminium to secure it to the nail. Allow that to soak for 10-15 minutes.
3. Use a cuticle pusher to scrape off softened product. If the Builder Gel is still hard, reapply acetone and soak for another 5 minutes. Be gentle with this step. Use a soft hand file (180 grit or less) to buff off remaining product. Use the buffing block to smooth the nail and add shine back.
4. Apply cuticle oil to rehydrate the nail.
More questions about builder gel?
We've got you covered. Head over to our Builder Gel FAQ where our experts have answered all your burning questions.
Or if you're ready to take the leap into the exciting world of Builder Gel nail designs, browse our selection of fashionable shades.


Leave a comment