

Halloween Nail Designs to Recreate at Home
From dark and dramatic to cute and celestial, discover four Halloween nail designs to recreate at home, plus what you need to bring each look to life.
Halloween is the perfect excuse to experiment with your nails.
You can go all-out with dramatic details, keep things playful with a glossy jelly finish or take a more elevated approach with chrome, celestial details and dimensional nail art.
The best part? You don't need to stick to traditional Halloween designs. This season, it's all about finding your own take on spooky nails.
Here are four Halloween nail ideas to inspire your next set, plus the Mitty products you need to recreate each look.
🖤 Dark and Gothic Glam

Moody, dramatic and made to stand out.
Take Halloween glam to the dark side with bold finishes, dimensional effects and gothic-inspired details.
This look is all about contrast. Pair a deep black base with chrome details and rich accents for a manicure that feels dramatic, elevated and anything but ordinary.
Add a touch of Halloween nail art to bring the theme together without taking away from the overall glam finish.
Create this look with:
How to recreate the look
Start with your base colour and cure according to the product instructions. Build up your design with bold black and rich accents.
Use a nail art brush to add any gothic-inspired details or Halloween accents before finishing with Mitty Gloss Top Coat for a glossy, polished finish.
Tip: Mix Shiraz or G.N.O with See Through Builder Gel for the 3D blood drip effect. Use a dotting tool to create and shape the drips.
✨ Witchy and Celestial

Mystical, moody and made for the stars.
Skip the obvious witchy details and let the mood do the talking.
Deep jewel tones, moon phases, metallic accents and a subtle cat-eye effect create a celestial-inspired Halloween manicure that feels mysterious without being overdone.
It's the perfect option if you want your Halloween nails to feel magical, sophisticated and a little unexpected.
Create this look with:
-
Gold Metallic Paint
How to recreate the look
Begin with your base and apply Blueberry as your main colour.
Once cured, use a fine nail art brush to draw your celestial details. Use gold metallic paint, this will help your moon phases and other details stand out.
Finish with your Glossy Top Coat and cure according to the product instructions.
Tip: For very fine lines, first remove the tacky layer from the polish. Add a small dot of metallic gold onto the nail, then use a clean, dry liner brush to draw the design.
🪩 Chrome and Futuristic

Reflective, sleek and seriously eye-catching.
Chrome is taking Halloween nails beyond the traditional spooky look.
Think mirror black, silver and gunmetal finishes, or futuristic chrome paired with negative-space details. Instead of relying on classic Halloween motifs, this look creates a spooky-season feel through reflective finishes, contrast and unexpected details.
It's a great choice if you want Halloween nails that feel modern and fashion-forward.
Create this look with:
How to recreate the look
Apply your base colour and cure according to the product instructions.
Build your base with Bold Black. You can also leave sections of the nail uncovered to create negative-space details.
Use your Mitty Nail Art Brush to add fine lines or futuristic details, then apply your matte top coat to seal the finished design.
Tip: Use gel polish rather than gel paint for this design. This will make it easier to create the fine details and different shades of white for the web for a more realistic look.
🎃 Cute Halloween Jelly

Playful, glossy and spooky in the sweetest way.
Halloween nails don't have to be dark.
For something fun and playful, try a translucent jelly-inspired manicure with pastel shades, tiny Halloween details and a glossy finish.
This look combines soft colours with seasonal nail art, making it perfect if you want a Halloween manicure that feels cute rather than creepy.
Create this look with:
-
Base Coat
-
Top Coat
- Mitty Nail Art Brush
-
Pastel Gel Nail Polishes:
Use the pastel shades across your nails to create a mix-and-match jelly effect:
- Pink Fire: Thumb and index
- Baby Blue: Middle accent
- Amelia: Ring finger
- Seafoam: Pinky
- Tuscan Sun: Opposite accent finger
- Paris Yellow: Opposite pinky
- Crisp White: 3D ghost body
- Gold Metallic Paint: Pumpkin outline
How to recreate the look
Start with your base coat and build your pastel colours across each nail.
Once your base is ready, use your Mitty Nail Art Brush to add the Halloween details. Crisp White can be used to create the 3D ghost body, while Golden Goddess adds a subtle outline to your pumpkin details.
Finish with your top coat for that glossy, jelly-like effect.
How to Make These Halloween Nail Designs Your Own
The beauty of Halloween nail art is that there are no rules.
You can recreate one of these looks exactly, or take your favourite elements and make them your own.
Try mixing:
- Gothic details with chrome finishes
- Celestial designs with jewel tones
- Futuristic chrome with negative-space nail art
- Pastel jelly nails with cute Halloween details
- Metallic accents with traditional Halloween motifs
You can also change how much nail art you use. Keep the details minimal for a more wearable manicure, or layer multiple finishes and designs for a statement set.
What You Need to Create Halloween Nails
You don't need an entire collection of nail products to start creating Halloween nail art.
A few versatile essentials can help you create everything from simple seasonal details to more intricate designs.
Gel polish
Your base shades set the mood for the entire manicure. Dark shades can create a dramatic finish, while pastels offer a softer take on Halloween.
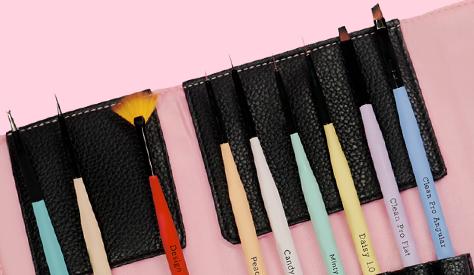
Nail art brush
A fine nail art brush makes it easier to create small details, lines, celestial designs and Halloween-inspired artwork.
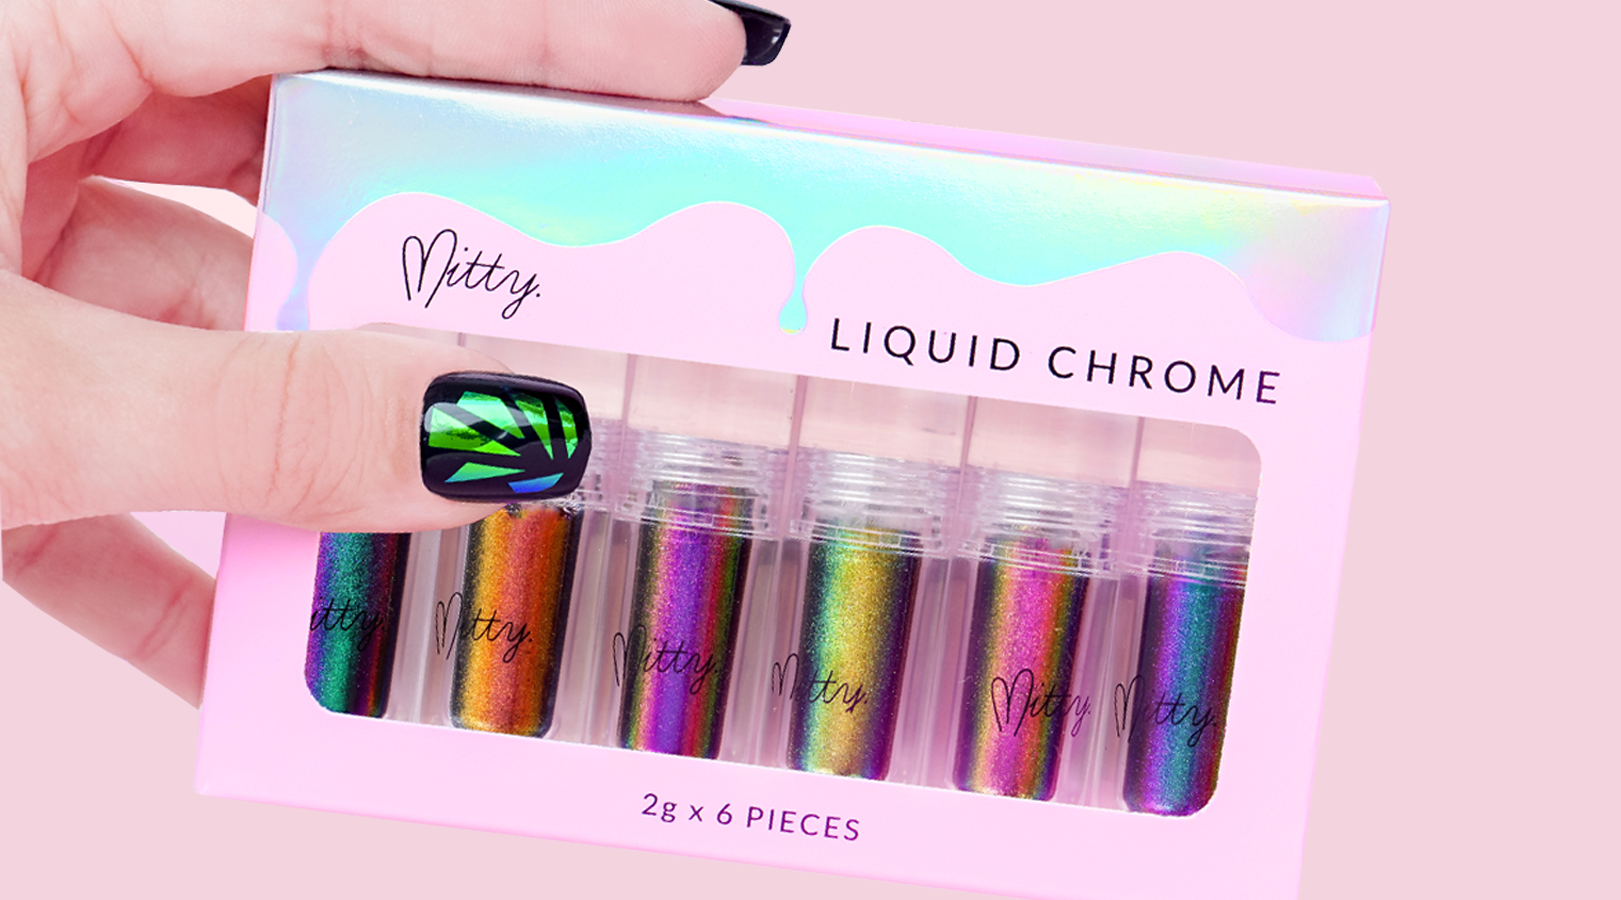
Chrome powder
Chrome is an easy way to add dimension and a reflective finish to your Halloween manicure. It can be used across the whole nail or on specific nail art details.
Base and top coat
A good base and top coat help complete your manicure. Always follow the curing instructions for the products you're using.
A little creativity
You don't need to be a professional nail artist to experiment with Halloween designs. Start with simple details, work slowly and build your design one layer at a time.
Which Halloween Nail Design Will You Recreate?
Whether you're drawn to dark gothic glam, celestial details, futuristic chrome or cute jelly nails, there's a Halloween look for every style.
Start with one design or mix and match your favourite elements to create a manicure that's completely your own.
One season. Four looks. Endless ways to make them yours.
Ready to recreate your favourite?
Don't forget to tag @mitty.nails in your Halloween creations for a chance to be featured.


Leave a comment