

Applying Your Press on with Liquid Adhesive-Everything You Need to Know!


So, you've got your hands on some fabulous Mitty press-on nails and you're ready to rock those killer claws. But wait, how do you actually apply them without ending up in a sticky situation? Fear not for we've got you covered with some tips and tricks to nail that application process!
Size Matters
One size does not fit all when it comes to press-on nails. Take the time to find the perfect size for each of your nails. You don't want them too big or too small - just like Goldilocks, you want them just right!
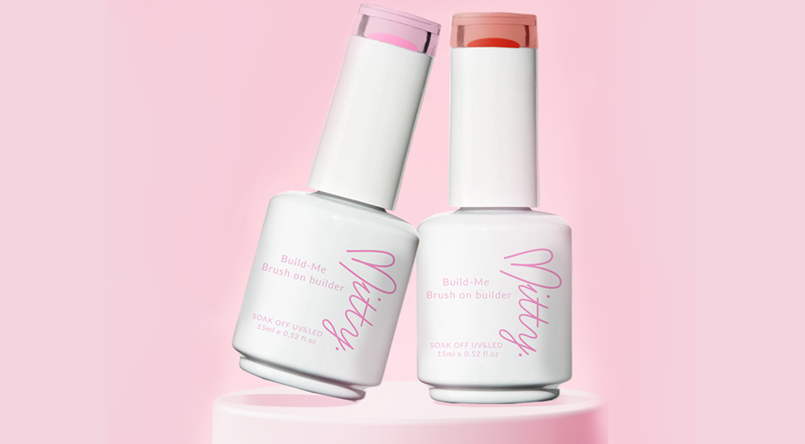
You will get 15 different sizes in your Mitty kit with total of 32 nail tips. However if you find that you can't find a tip that fits perfectly, you can choose a bitter tip and file it to fit your nails. You can do this with the black side of your file. This side is coarser and it is designed to be used to reshape, shorten or make the tip smaller.
Prep Like a Pro
Before you dive into the world of press-on nails, make sure your natural nails are clean and dry. Give them a quick file to shape them up and gently push back your cuticles with the cuticle pusher included in your press on box.
Now, let's make sure we remove the shine from your nails. You can do this with the mini file that you receive in your kit. Your file has 2 sides. The pink side that is meant for your natural nails because it is fine and doesn't cause damage. If you find it hard to get into those corners, you may want to get yourself a mani/pedi prep tool that will make this step easy and done to perfection.
Remember, preparation is key to a flawless finish!
Stick It to 'Em
Now, here comes the fun part - applying the liquid adhesive.
Before we start, let's make sure our nails are clean using the alcohol wipes provided. Pro tip? Do 1 hand at a time.
Squeeze a small drop onto your natural nail and another drop onto the press-on nail. Wait for a few seconds for the adhesive to get tacky (kind of like waiting for your crush to text back) and then gently press the press-on nail onto your natural nail. Hold it in place for about 30-60 seconds to let the adhesive work its magic.
And there you have it, folks! With these simple steps, you'll be flaunting your Mitty press-on nails like a pro in no time. So go ahead, get creative with your nail designs and show the world your fierce and fabulous side!
After Case to Make 'Em Last:
Now it is time to look after those claws! Here are some of our top after care tips:
✅ Avoid Water for 4 Hours
-
Don’t wash dishes, shower, or go swimming right after applying.
-
This helps the glue cure and hold longer.
✅ Treat Them Like Real Nails
-
Wear gloves when cleaning or doing dishes.
-
Don’t use nails to open cans or scrape things.
-
Avoid picking or biting!


Leave a comment