


Salon Secrets You Can Use at Home: 7 Professional Nail Tips for Better Manicures

Why Do Salon Manicures Look So Different?
A professional manicure isn't simply about using a beautiful colour.
Nail technicians pay attention to the details before, during and after product application. They prepare the nail carefully, control how much product they use, check their application from different angles and know when to slow down.
Many of these techniques don't require advanced nail art skills or a huge collection of products. They're simply good nail habits that can make your manicure look cleaner and more professional.
Our own DIY gel guidance recommends thorough preparation, thin coats and curing each layer before moving on to the next.
Here are seven salon secrets to try during your next manicure.
1. Preparation Is Everything
One of the biggest differences between a rushed DIY manicure and a professional-looking result happens before the colour is even applied.
Professional secret: Nail technicians treat preparation as part of the manicure, not as an optional extra.
Why professionals do it
Products need a properly prepared surface to adhere well. Oil, moisture, leftover product and nail dust can interfere with application and contribute to lifting or an uneven finish.
Our gel application guidance recommends preparing the nail, gently buffing the surface, then using PH Bonder and Gel Primer before applying gel products.
How to do it at home
Start with clean, dry nails.
Cuticle preparation
Gently pushing back the cuticle area and removing non-living tissue from the nail plate helps prevent lifting around the edges.
Controlled Buffing
Light buffing helps smooth the surface slightly without thinning or weakening the nail plate.
One of the most common mistakes at home is over-filing. Aggressive filing can weaken the nail structure and make nails more prone to bending and breakage over time.
Removing Surface Oils
Natural oils left on the nail can affect how well products adhere, specially with gel systems.
Pro Tip: Use a mix of alcohol and acetone and wipe the nails using a lint-free wipe to properly remove surface oils before product application.
With gel systems, it is also vital to use a pH bonder and gel primer before applying your base coat to help improve adhesion and reduce lifting.
Good preparation is not about removing more. It is about creating balance.
Most importantly, make sure the entire nail surface is properly prepared, rather than only working around the centre of the nail.
MITTY PRO TIP
Don't rush this step. A few extra minutes spent preparing the nail can make the rest of your manicure much easier.
2. Thin Coats Create a Better Finish
Here's one of the simplest salon techniques you can copy at home:
Use less product.
It can be tempting to apply a thick coat of gel polish when you want strong colour or full coverage, but professional application is usually built up gradually.
Why professionals do it
Thin, even coats make it easier to control the product and create a smoother-looking finish as well as ensuring your gel polish is fully cured. Our DIY gel guide specifically recommends applying thin layers and curing between coats, with two coats usually providing coverage.
How to do it at home
Load a small amount of product onto your brush and remove excess before applying.
Start with a thin layer, keeping the application controlled and even. Cure, then repeat if another layer is needed.
Think build, don't pile on.
MITTY PRO TIP
If your colour isn't opaque enough after one coat, don't compensate by applying one very thick layer. Add another thin layer instead.
3. Pay Attention to the Free Edge
Professional nail technicians don't stop thinking about application when they reach the end of the nail.
The free edge, or the tip of your natural nail, deserves attention too.
Why professionals do it
The tip of the nail experiences plenty of everyday contact, from typing and opening packaging to washing your hands.
When the product system you're using recommends it, lightly capping the free edge can help finish and seal the application.
How to do it at home
When applying your gel colour or top coat, use a controlled amount of product and lightly brush across the tip of the nail.
Keep the layer thin and avoid flooding the sidewalls or surrounding skin.
Not every product or nail system uses exactly the same application technique, so always follow the manufacturer's instructions.
MITTY PRO TIP
Look at your nails from the front as well as from above. You'll quickly spot whether the free edge has been evenly covered.
4. Don't Treat Cuticle Care as an Afterthought
One of the easiest ways to make a fresh manicure look more polished is to take care of the skin around it.
Professional nail services often finish with cuticle care because the manicure doesn't stop at the colour.
Why professionals do it
Dry-looking cuticles can make even a beautiful manicure appear unfinished.
Regular moisturisation can help keep the nails and surrounding skin from becoming excessively dry. The American Academy of Dermatology also recommends moisturising nails and cuticles to help minimise brittleness.
How to do it at home
Make cuticle care part of your daily routine rather than something you only do on manicure day.
Apply a small amount of cuticle oil to the skin around each nail and massage it in gently.
Our Cuticle Juice contains sweet almond, jojoba, avocado, coconut and vitamin E oils, and we recommend regular application, particularly in the evening.
MITTY PRO TIP
Keep your Cuticle Juice somewhere visible. Your bedside table, desk or handbag can make it easier to remember.
5. Check Your Work From Every Angle
Here's something you may notice during a professional manicure that you don't always think about at home.
Your nail technician constantly changes the angle of the hand.
That's not accidental.
Why professionals do it
Looking at a nail only from above can make an uneven surface or inconsistent application difficult to see.
Checking the nail from different angles helps you spot areas that need refining before the manicure is finished.
How to do it at home
Once you've applied each layer, move your hand and look at the nails from the front, side and top.
Check for:
- Uneven coverage
- Thick areas
- Product touching the surrounding skin
- Uneven shaping
- Gaps near the cuticle area
Fixing a small issue before curing or finishing is much easier than trying to correct it later.
MITTY PRO TIP
Good lighting can make a bigger difference than you think. Set yourself up somewhere bright enough to clearly see the entire nail.
6. Don't Guess Your Curing Time
When you're doing gel nails at home, curing isn't the step to rush.
Different gel systems and lamps can have different curing requirements, which is why following the product instructions is important.
Why professionals do it
Gel products need the correct curing process to polymerise properly. Our application instructions specify curing times for its systems and note that curing time can vary depending on the lamp being used.
How to do it at home
Use the recommended lamp and follow the curing instructions for the exact product you're applying.
Keep your hand positioned correctly inside the lamp and make sure the product isn't applied excessively thickly.
Don't simply assume that a higher wattage automatically means you can shorten the recommended curing time.
MITTY PRO TIP
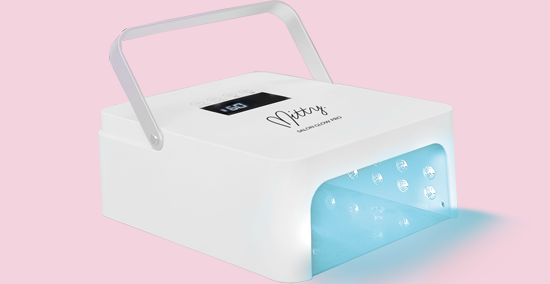
Use a lamp designed to work with your gel system and follow the manufacturer's recommended curing instructions rather than guessing.
Our current BIAB guidance recommends using compatible Mitty LED lamps and provides specific curing instructions for its Builder Gel system.
7. Finish the Manicure With Hand Care
You can spend an hour perfecting your manicure and still feel like something is missing.
Often, it's the finishing care.
Why professionals do it
Your hands are exposed to plenty of everyday stress, including frequent washing, sanitising and changes in weather. Keeping the surrounding skin moisturised can help your hands look smoother and more cared for.
Our Plant-Derived Lipid Hand Serum is formulated to support hydration and the condition of the hands, nails and cuticles without leaving a greasy feel.
How to do it at home
Once your manicure is complete, apply your hand care product and massage it into your hands, paying particular attention to the fingers and areas around the nails.
Then make it part of your everyday routine.
MITTY PRO TIP
Think of hand care as the finishing touch that brings the whole manicure together.
What About Builder Gel and BIAB?
If you're looking to take your at-home manicure one step further, you may have come across BIAB, or Builder in a Bottle.
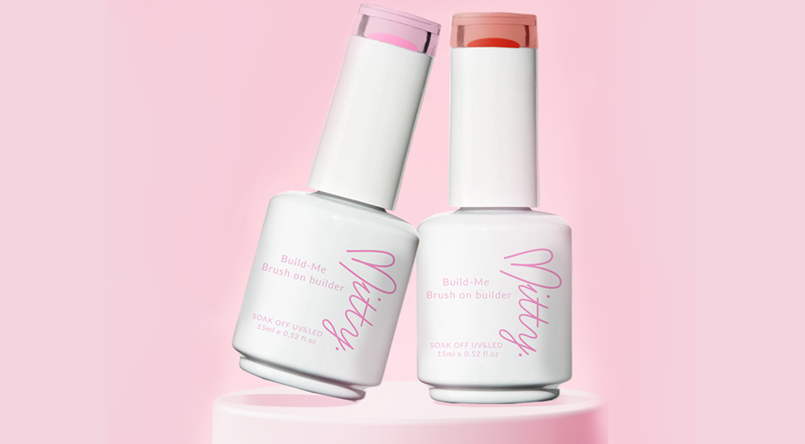
Unlike gel polish, builder gel is designed to add structure and strength and can be used on natural nails or with tips and forms, depending on the system. We describe our Brush on Builder Gel as a soak-off system that can be used on natural nails, tips or forms.
But BIAB isn't simply a thicker version of gel polish.
It requires its own application technique, including controlled product placement, correct curing and proper preparation.
Our BIAB instructions recommend preparing the nail, applying a thin base layer, curing it, then building structure with controlled layers before curing again.
New to BIAB?
Start by learning the application process before experimenting with more advanced techniques.
A Salon Secret That Matters More Than Any Product: Don't Rush
It's easy to focus on buying the perfect colour, the newest nail gadget or the latest manicure trend.
But professional-looking nails often come down to something much simpler:
Take your time.
Rushing preparation, applying too much product, skipping curing instructions or peeling off gel can all compromise your manicure.
Our beginner guidance highlights common DIY mistakes such as skipping preparation, applying thick coats, allowing gel to touch the skin and peeling gel off rather than removing it correctly.
Your manicure doesn't need to be complicated.
It needs to be consistent.
What About Gel Removal?
A beautiful manicure deserves a careful removal process too.
One of the biggest mistakes you can make is picking, peeling or aggressively filing off gel. Even when your manicure has started to lift, resist the temptation to pull it away. Removing product by force can take layers of the natural nail with it.
Instead, the goal is to remove the product gradually and gently.
How to Remove Gel Safely at Home
You don't need to rush this step. A little patience can help protect the natural nail underneath.
1. File down the product
Start by using a nail file to carefully file away the bulk of the gel.
You're not trying to file your natural nail. Focus on reducing the thickness of the product and breaking the top seal so the acetone can penetrate more effectively.
MITTY TIP:
Stop filing before you reach the natural nail. When in doubt, leave a thin layer of product behind rather than over-filing.
2. Soak the remaining gel
Cut a cotton pad into small pieces and saturate each piece with pure acetone.
Place the soaked cotton over each nail and secure it using our Polish Off Soakies. The soakies help keep the acetone where you need it and make the removal process easier and less messy.
Leave them on for around 10–15 minutes.
3. Gently remove the softened product
Once the gel has softened, remove the soakie and use the Gel Polish Scraper and Cuticle Pusher from the Mitty Gel Removal Kit to gently lift away the softened product.
The key word is gently.
If the gel doesn't move easily, don't scrape harder. Put the acetone-soaked cotton and soakie back on for another few minutes, then try again. We recommend repeating the filing and soaking process when product remains rather than forcing it off.
4. Smooth and hydrate
Once all the gel has been removed, gently buff the nail surface to smooth any remaining roughness.
Finish with our Cuticle Juice to moisturise the nails and surrounding cuticles.
Your At-Home Removal Kit
Our Mitty Gel Removal Kit gives you the key tools you need for the removal process, including Polish Off Soakies, a gel scraper and cuticle pusher.
Just add your own pure acetone, which isn't included in the kit.
One More Professional Habit: Keep Product Off the Skin
This is especially important when working with gel products.
Gel should be applied carefully so it doesn't flood onto the surrounding skin.
Why?
Uncured gel can cause allergic contact dermatitis in susceptible individuals, and repeated skin exposure is a recognised concern. DermNet notes that acrylates used in gel can cause allergic reactions, including itching, burning, scaling and blistering.
For that reason, careful application is more than an aesthetic detail.
If gel gets onto the surrounding skin, clean it up before curing.
And if you develop a persistent reaction around your nails or hands, stop using the product and seek appropriate medical advice.
The Professional Difference? Small Habits.
Salon-quality nails aren't about perfection.
They're about knowing what to do before you start, how to apply your products properly and how to care for your manicure afterwards.
Our professional nail technicians build these habits into every service because the small details matter.
And you can bring many of those same habits into your own routine at home.
Start with these seven:
Prepare properly.
Apply thin layers.
Pay attention to the free edge.
Care for your cuticles.
Check every angle.
Cure correctly.
Finish with hand care.
You don't have to change your entire routine overnight.
Choose one or two techniques and try them during your next manicure. Once they become habits, add another.
That's the Mitty way.
Ready to Elevate Your At-Home Manicure?
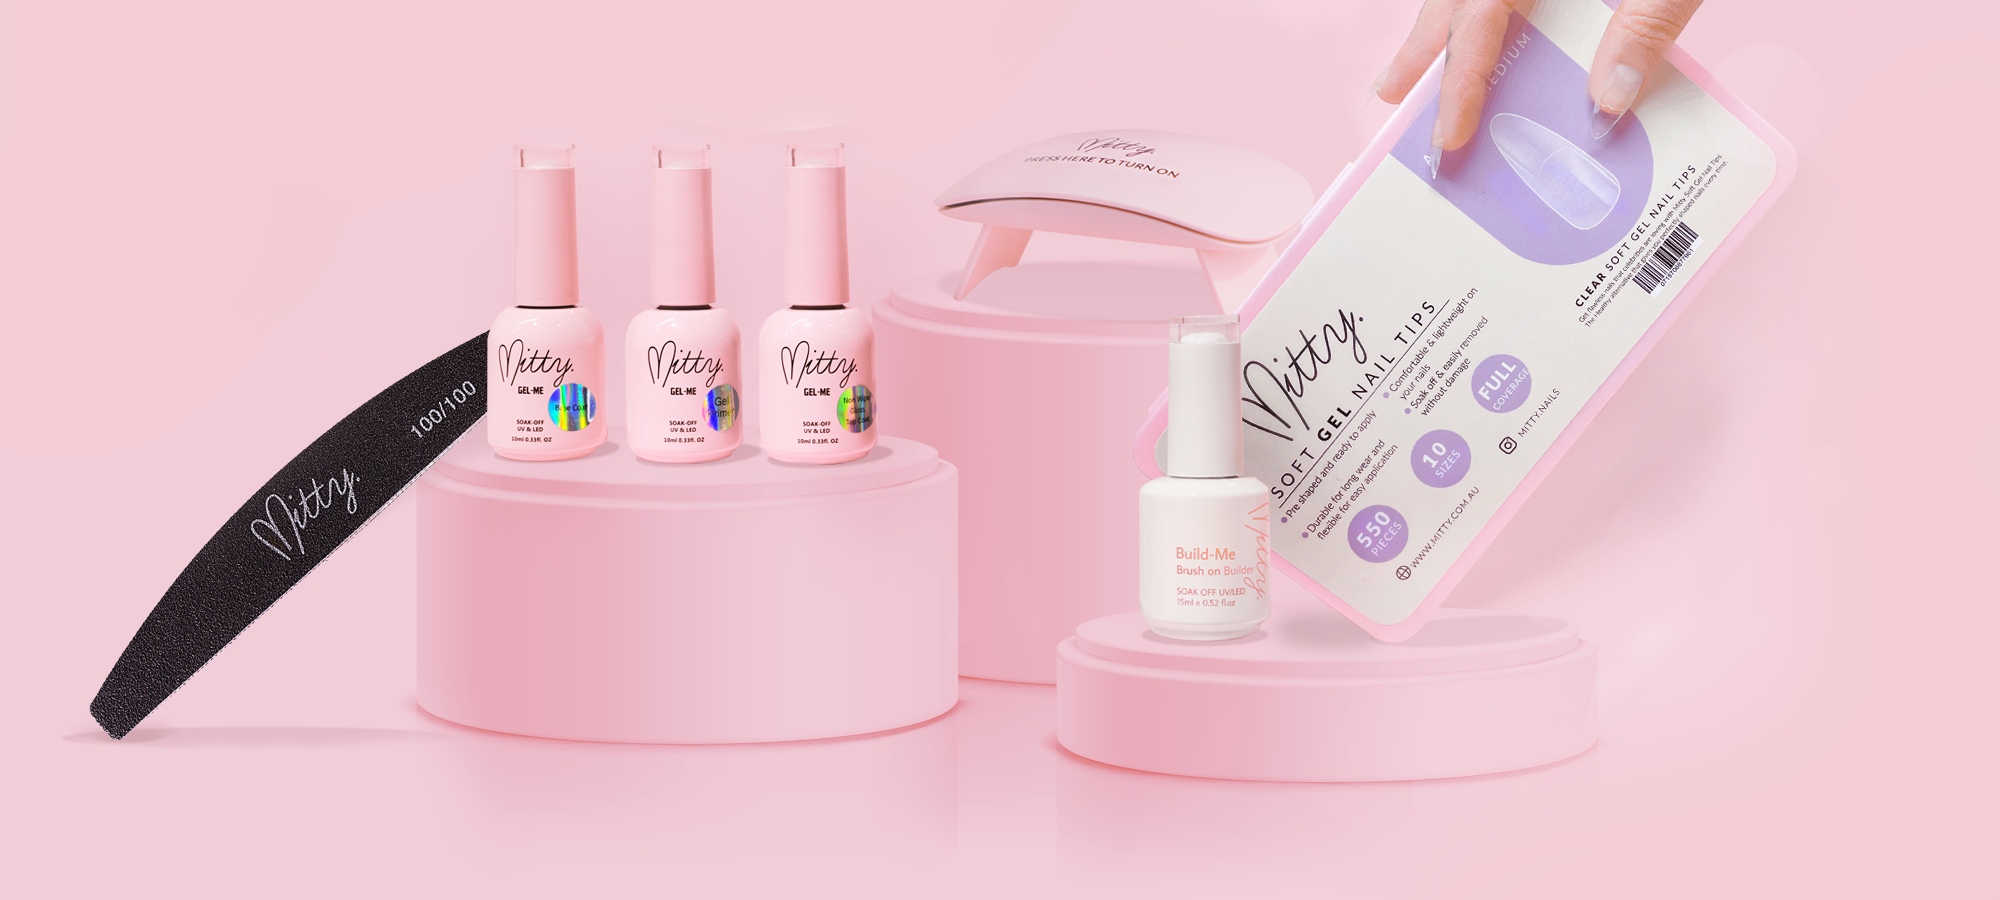
Discover the products designed to help you create a more polished DIY nail routine, from preparation and gel application to curing and aftercare.


Leave a comment