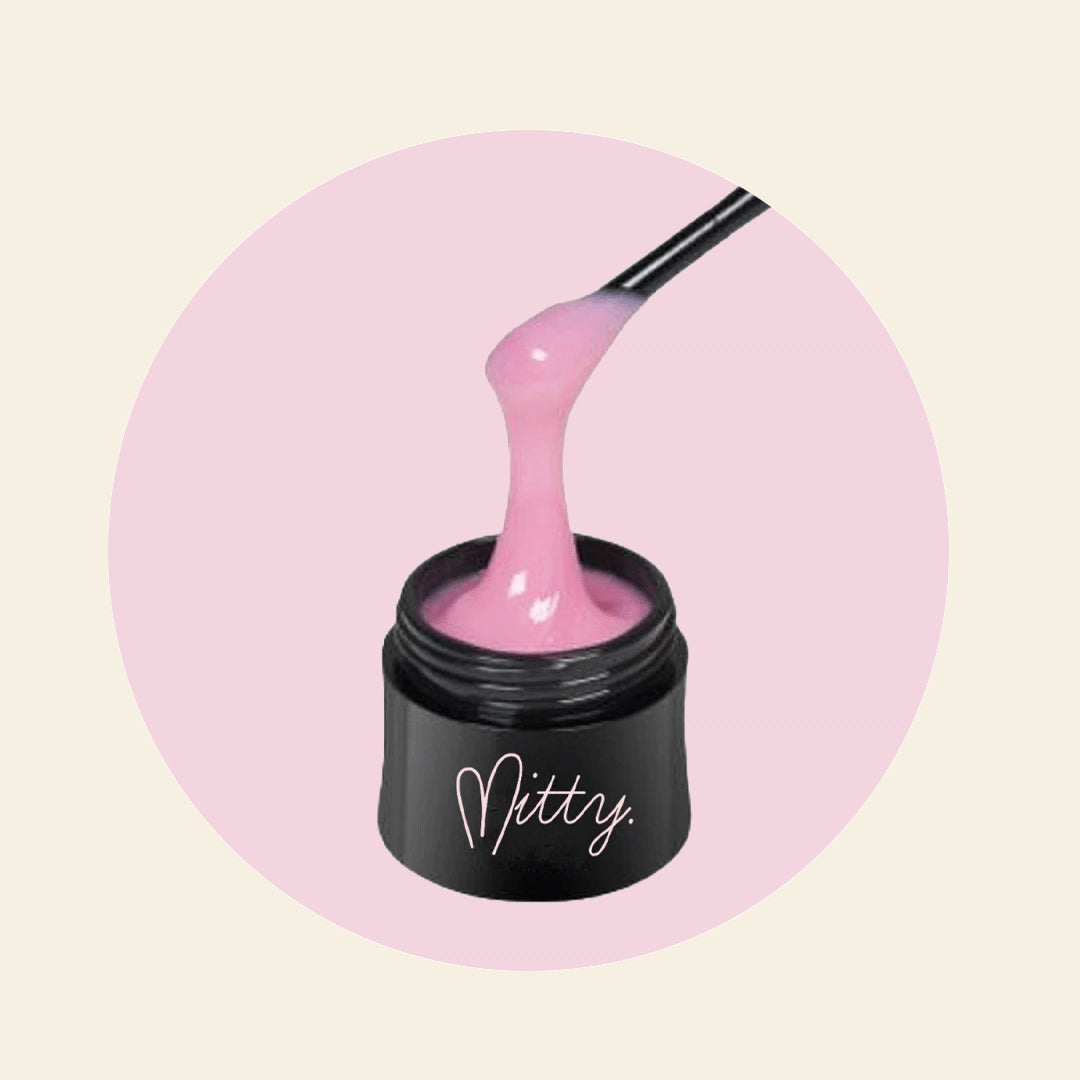
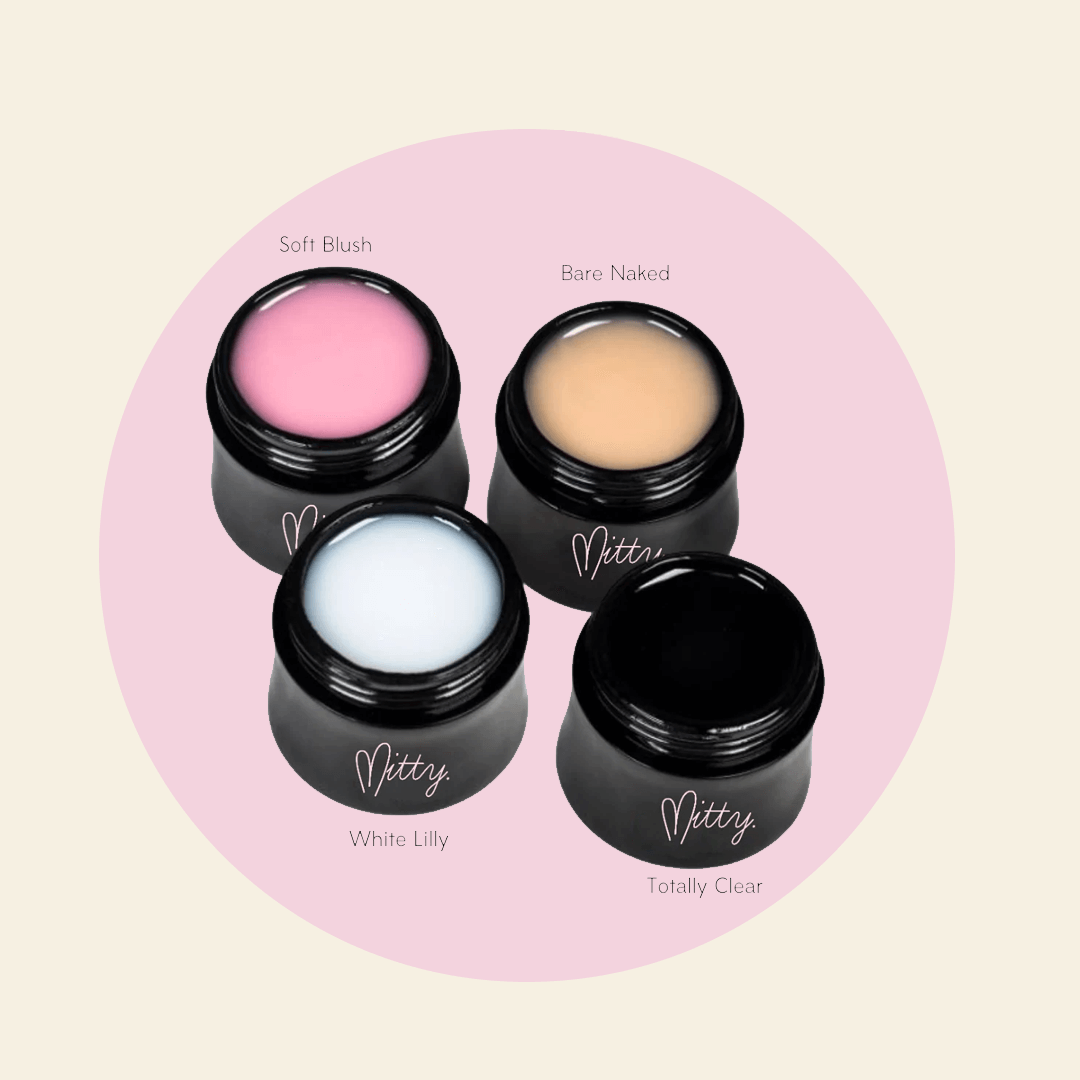
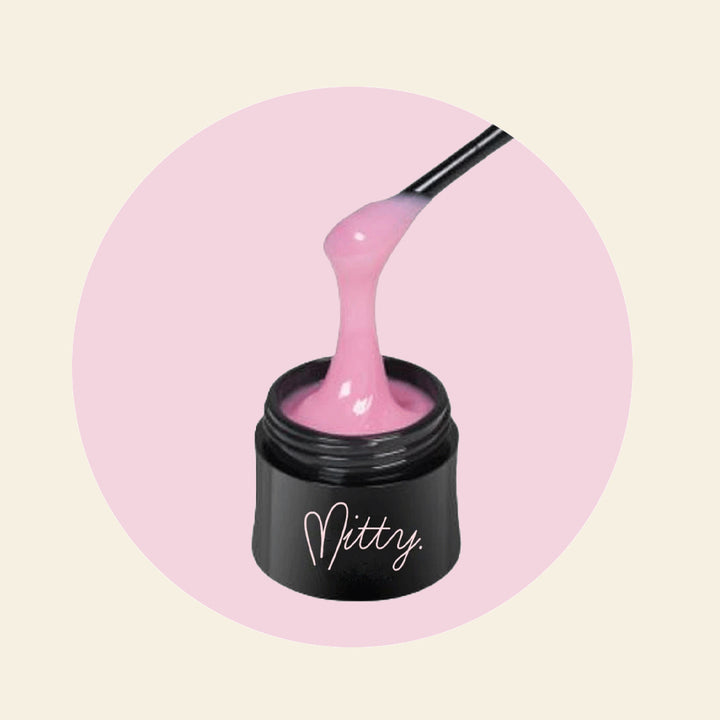
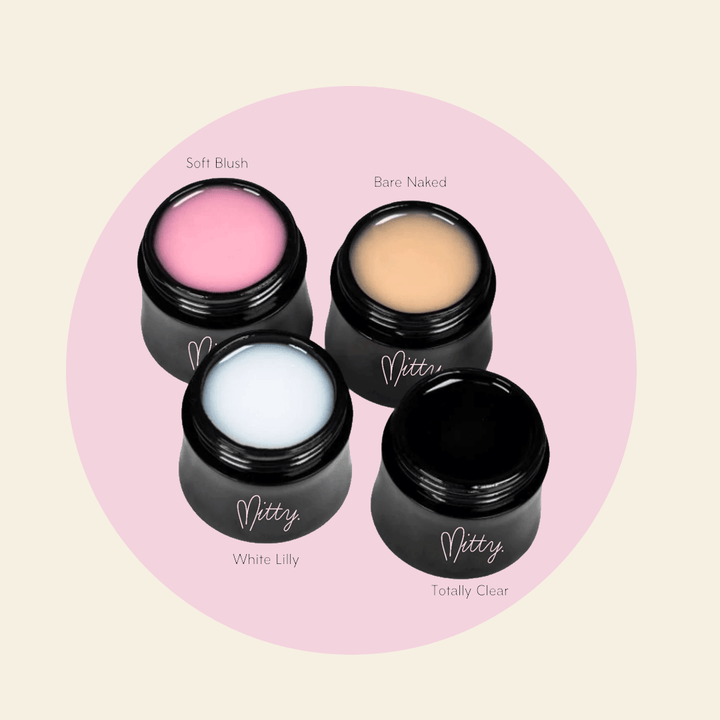
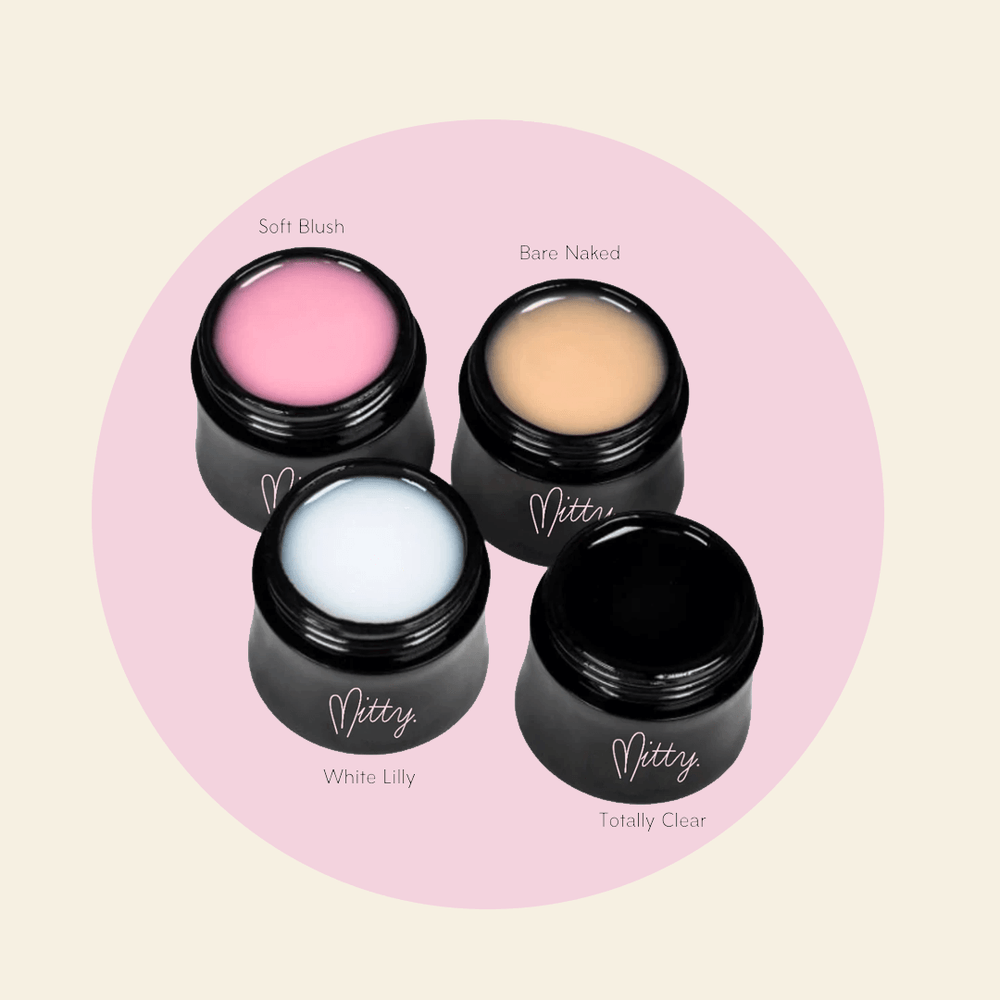
Soft Blush - PolyAcrylic Gel

Gel nails Game Changer is here
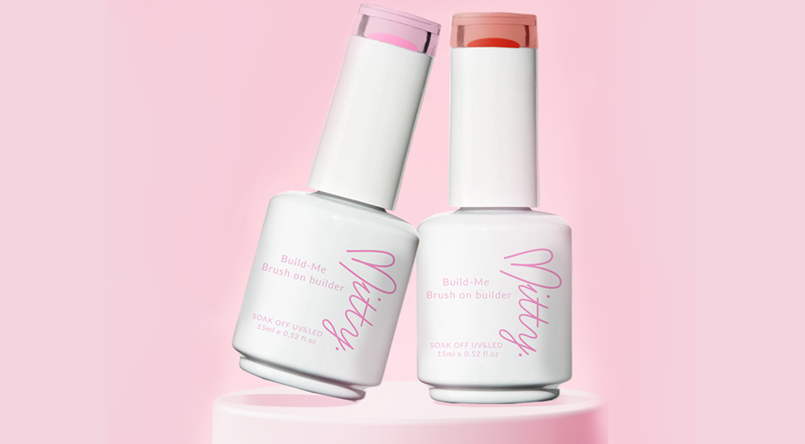
Mitty PolyAcrylic gel is an all-in-one hybrid formula offering the best of both worlds by creating something with the best qualities of acrylics and the top attributes of gel nails. Essentially, it’s a nail system that can be used to give you the perfect set!
The odorless formula allows you to work as fast or as long as you want.
This amazing formula is a mixture of builder gel and poly acrylic. The unique versatility allows you to use it as builder gel, polyGel with or without tips, and even 3D gel.
What makes this formula unique is that it keeps its shape and will not run making it easier to work with specially for re-fills. This is a perfect 3 in 1 combination, even better, this formula is designed for easy filing.
The Mitty Difference:
Mitty PolyAcrylic is super LIGHT (You won't even know you have enhancements)
Mitty PolyAcrylic is super STRONG (Stronger than hard gels for long wear mani's)
Mitty PolyAcrylic is is super EASY (Fast application, unlimited playtime, doesn't over level)
Mitty PolyAcrylic is gets FLAWLESS results (From beginners to professionals)
Easy PolyAcrylic application steps:
1. Clean your hands using sanitizing spray or gel. Manicure your nails by gently pushing back your cuticles.
2. Clean and dehydrate the nail plate using nail polish remover or an alcohol wipe.
3. If you are using tips to lengthen your nails, apply the tip using nail glue and file the tip down so that the surface between your nail and tip is even. Gently remove the shine from the nail plate and the nail tip using a sponge file.
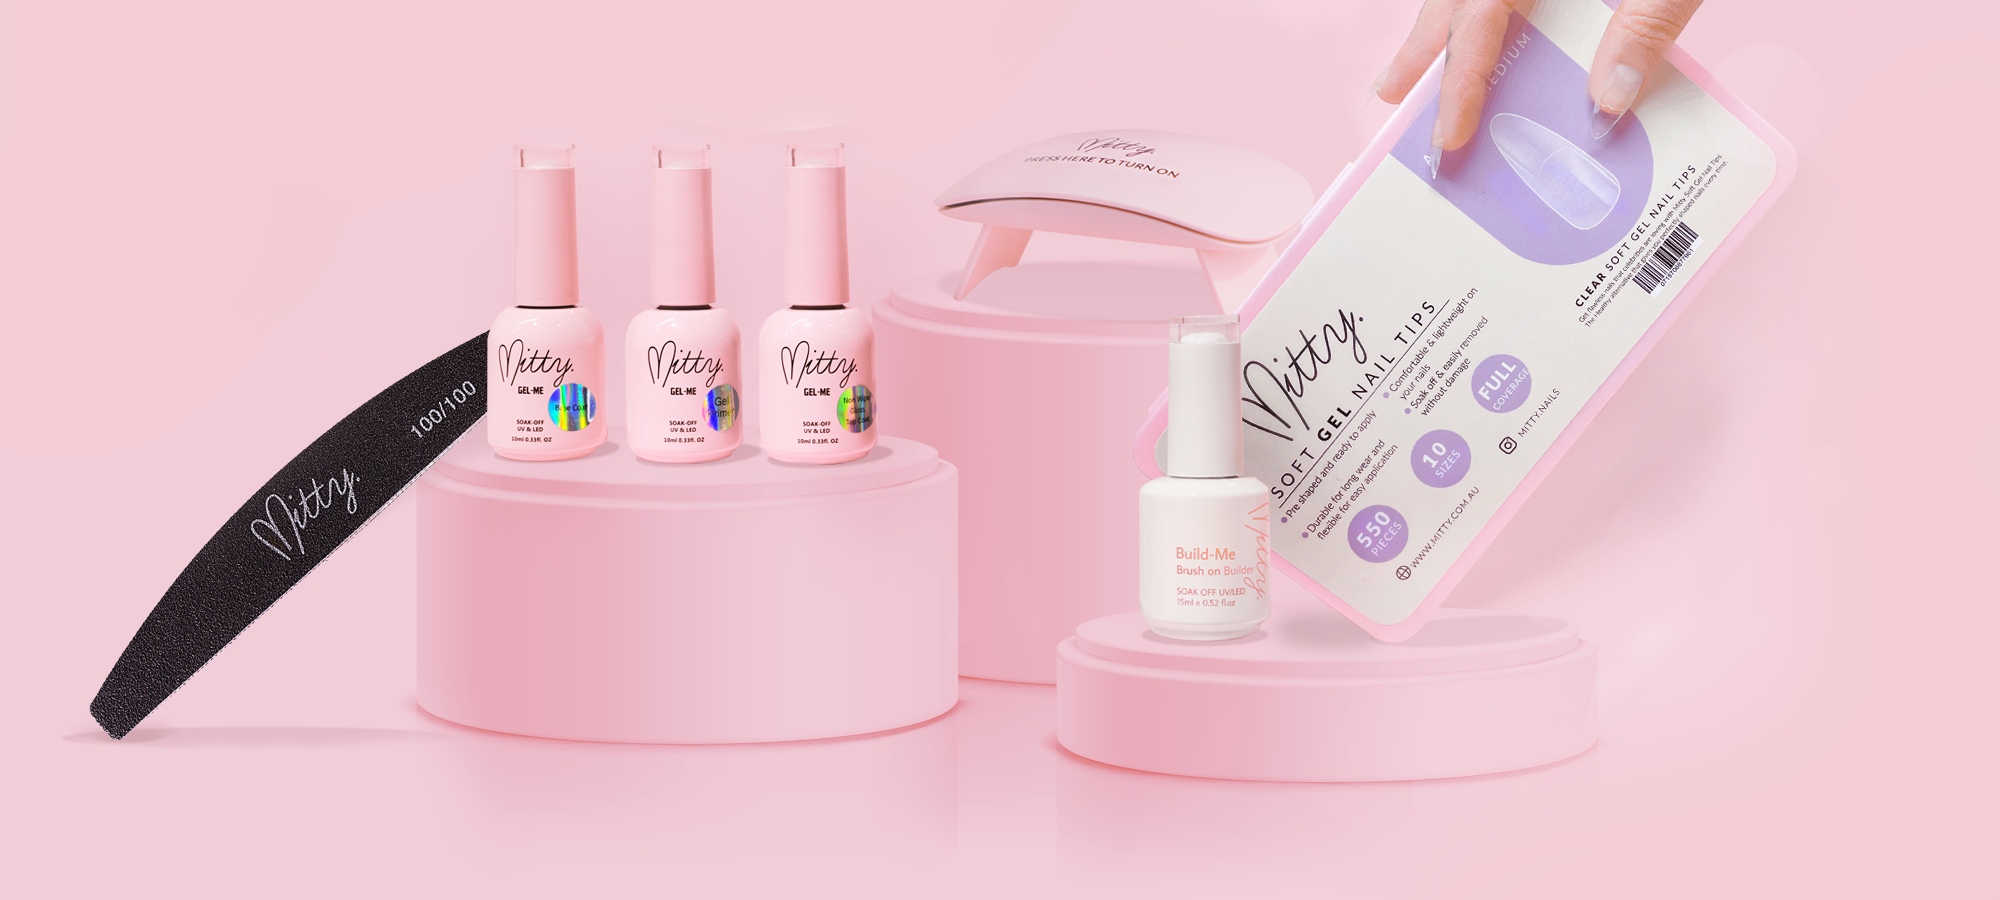
4. Use Mitty PH Bonder to the nail plate. Only apply it to the natural nail. Use sparingly and don’t touch the skin with it.
5. Apply Mitty Gel Primer to the nail but not the nail tip.
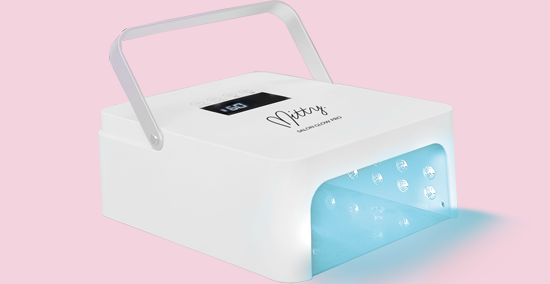
6. Apply Mitty Clear Base Coat and cure for 30 seconds in Mitty 54W LED nail lamp.
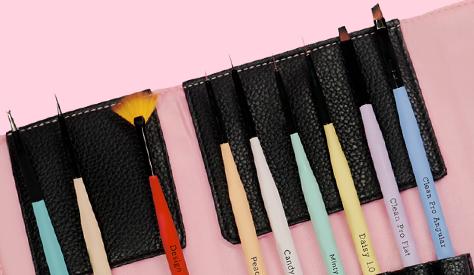
6. Using a Mitty Pro Angular Flat brush apply a thin layer of the Mitty PolyAcrylic gel and cure or 60 seconds in Mitty 54W LED nail lamp. Do not wipe this layer.
7. Apply a thicker layer and spread it with the brush side to side. Make sure you stay away from your cuticles. Cure for 60 seconds in Mitty 54W LED nail lamp.
8. Assess the shape and thickness of your nails. You can add a third layer if you like to have thicker nails or if you see uneven areas. Remember to not wipe the nail between layers.
9. If you are ready to shape the nail you can now clean the tacky layer with alcohol.
10. Refine and buff your nails into shape using a 100/100 grit nail file. We want to reduce any excess product around your cuticle area and the free edge. You can also use a nail drill.
11. Once filed and you are happy with the shape remove the dust filings with a nail brush and apply your top coat or your gel polish.
PLEASE NOTE: Curing time may differ depending on the voltage of your nail art lamp.


How to remove Mitty PolyAcrylic Gel easily:
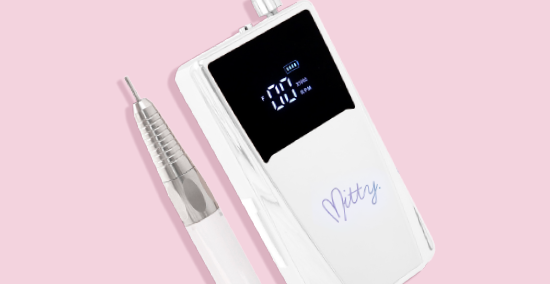
1. File your applied builder gel to remove seal with Mitty 100/100 Grit file or a nail drill like Mitty portable nail drill and using Smooth Top Barrel-Medium nail drill bit. Using a nail drill will speed up the process.
2. Cut a cotton pad into 4 pieces.
3. Soak the pad with pure acetone.
4. Slip the pad inside Mitty Polish off Soakie and slide the Soakie onto your finger. (You can use aluminum foil as well; however we ask that you consider the impact on the environment)
5. Wait 15-20 minutes.
6. Using a cuticle pusher, remove the builder gel. Repeat previous steps if builder gel is not fully removed.
7. Buff your nails.
8. Use Mitty Cuticle oil to moisturise your cuticles and nails.
FAQ about PolyAcrylic Gel:
1. Is PolyAcrylic Gel the same as Builder gel?
No, the two formulas are very different. Builder gel is self levelling however PolyAcrylic gel is not.
2. Can PolyAcrylic gel be used as PolyGel ?
Yes, you can use it the exact same way that you use PolyGel
3. Can brush on builder gel be used to fix a nail with a tear in it?
Yes, the steps are the same as applying the PolyAcrylic gel and will require filing.
4. Can PolyAcrylic be used to refill my nails?
Yes, you can refill this builder gel instead of removing and replacing with a new set of nails. By getting a nail refill, the space between the cuticles and the old builder gel is refilled to have your nails looking pretty as a picture again. This process is also called rebalancing, and or back fill.
To do this, you need to file off the top of the builder gel and remove any part of the builder gel that has lifted. Then apply builder gel and fill in the gap between your cuticles and the old builder gel.
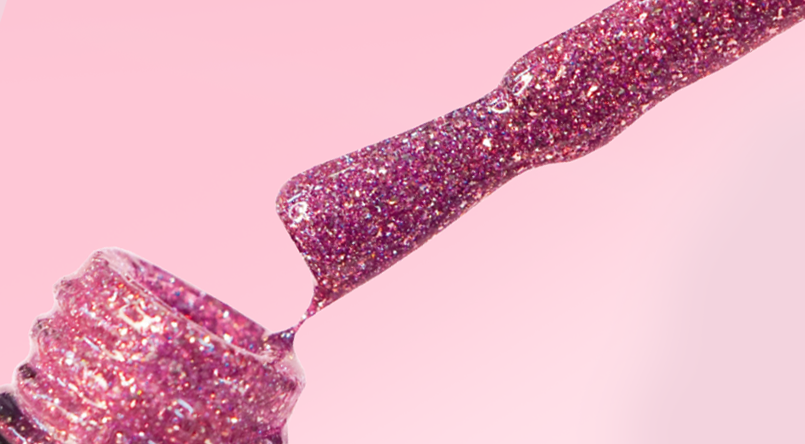
*Please note: Whilst every care is taken to truly represent the exact builder gel colour, different monitors will display colours in different ways.
Every order processed includes a tracking number for your convenience and shipped via Australia Post - please allow 3-7 business days for your parcel to arrive.


