

How to Apply Semi Cured Gel Stickers Like a Pro
Alright, nail aficionados and DIY divas, gather 'round! Today, we’re diving into the whimsical world of semi cured gel stickers. Think of them as the magical unicorns of the nail art universe—sparkly, fabulous, and just a tad elusive. So grab your favorite beverage (preferably something bubbly—be it soda or a cheeky cocktail), and let’s get this nail party started!
Step 1: Prep Like a Pro
You’ll want to prep those nails like you’re getting ready for a first date. Clean them up, push back those cuticles, and gently buff the surface to remove shine. You want a canvas that would make even Picasso proud.
Now clean off the dust and give each nail a good wipe with an alcohol pad. No touching! Don’t let your hair, your clothes, or your curious dog near them. These are now sacred nail zones.
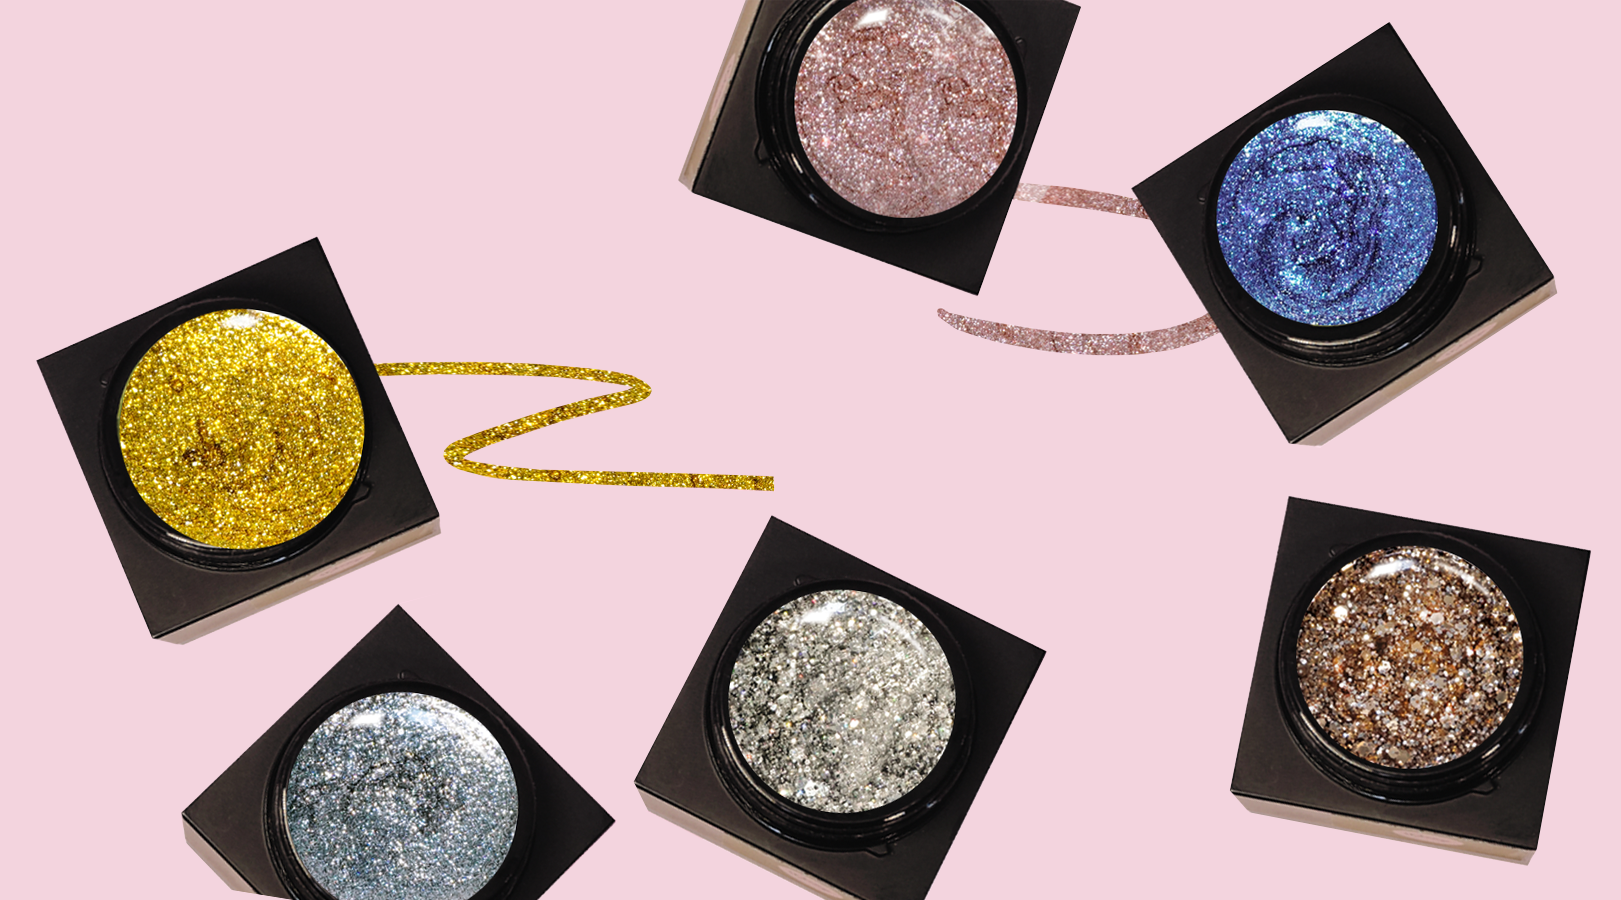
Step 2: Pick, Peel & Place
Unleash the magic of the stickers! Match each one to your nail size (Go for one that looks slightly bigger than your natural nail), and peel it off the backing like you’re unwrapping a rare treasure. Carefully place it on your nail—centred, close to the cuticle but not on the skin.
If it’s not quite right, no panic attack needed. Just peel and reposition. These stickers are surprisingly forgiving. Now press and rub like you’re massaging a genie lamp—firm pressure is key to a flawless finish. And remember those corners! Those guys are the ones to watch for.
Step 3: Cure It Like You Mean It
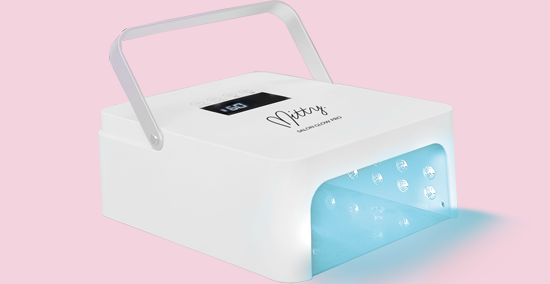
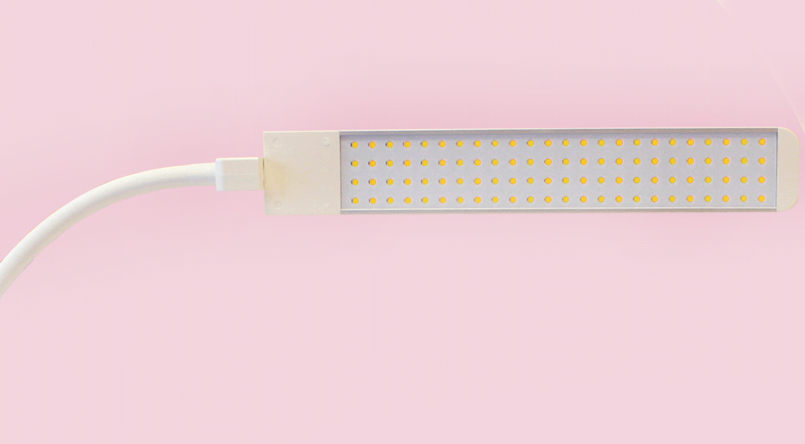
Time to bring the heat. Place your hand under a LED nail lamp for 60 to 90 seconds. This is where the semi-cured part becomes fully fabulous.
If you’re unsure what lamp to use, check the wattage on your unit. A 6W mini lamp might take 2–3 rounds, while a 36W+ lamp usually gets the job done in one go.
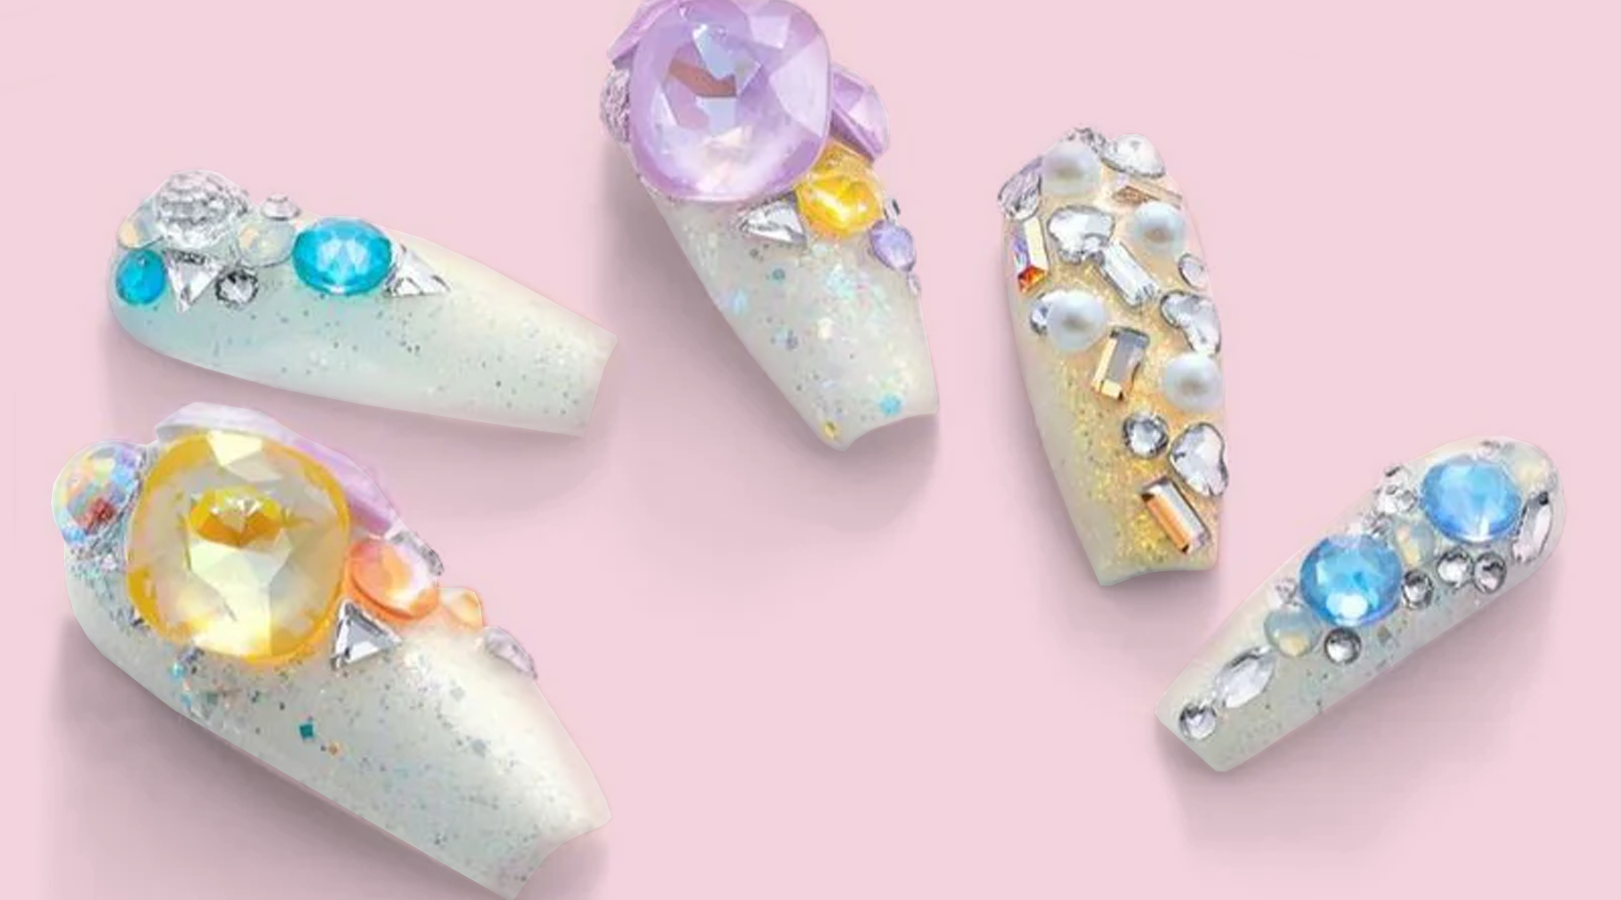
Step 4: Shape & Seal the Deal
Snip off the excess sticker length with scissors or clippers. Then file in a downward motion only to blend the edge with your natural nail. This helps avoid lifting and keeps your mani looking fresh longer.

Final Tips:
-
Don’t soak your hands in water for a few hours after application.
-
Check out our FAQ page for tips on preventing lifting, choosing the right size, and more troubleshooting magic.
-
Channel your inner diva—these nails were made to be shown off.


Leave a comment