

How to Do BIAB at Home: A Simple Step-by-Step Guide
If you've been thinking about trying Builder in a Bottle (BIAB) at home, you're not alone. BIAB has become a favourite for creating stronger, healthier-looking nails that last longer than traditional polish.
The secret to beautiful BIAB nails isn't just the application. It starts with proper preparation and ends with safe removal. Here's everything you need to know.
What is BIAB?
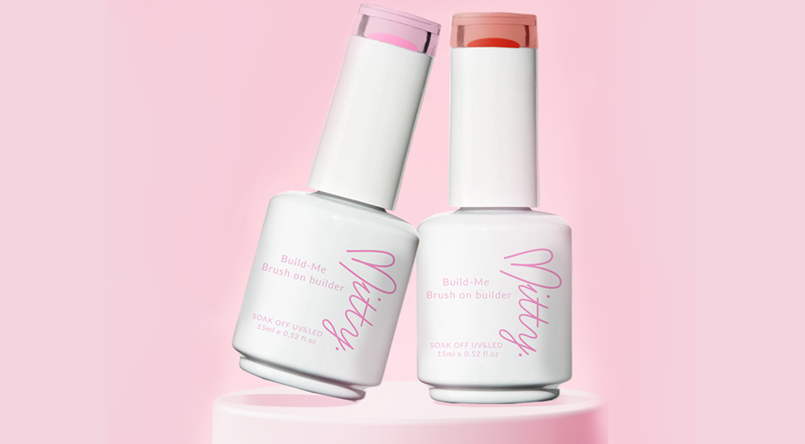
BIAB stands for Builder in a Bottle, a thicker type of builder gel designed to strengthen natural nails while adding structure and durability.
Unlike regular gel polish, BIAB helps protect weak or brittle nails and can encourage natural nail growth. It can be worn on its own for a clean, natural look or finished with your favourite gel polish colour.
Step 1: Prepare Your Nails
Great results start with great preparation.
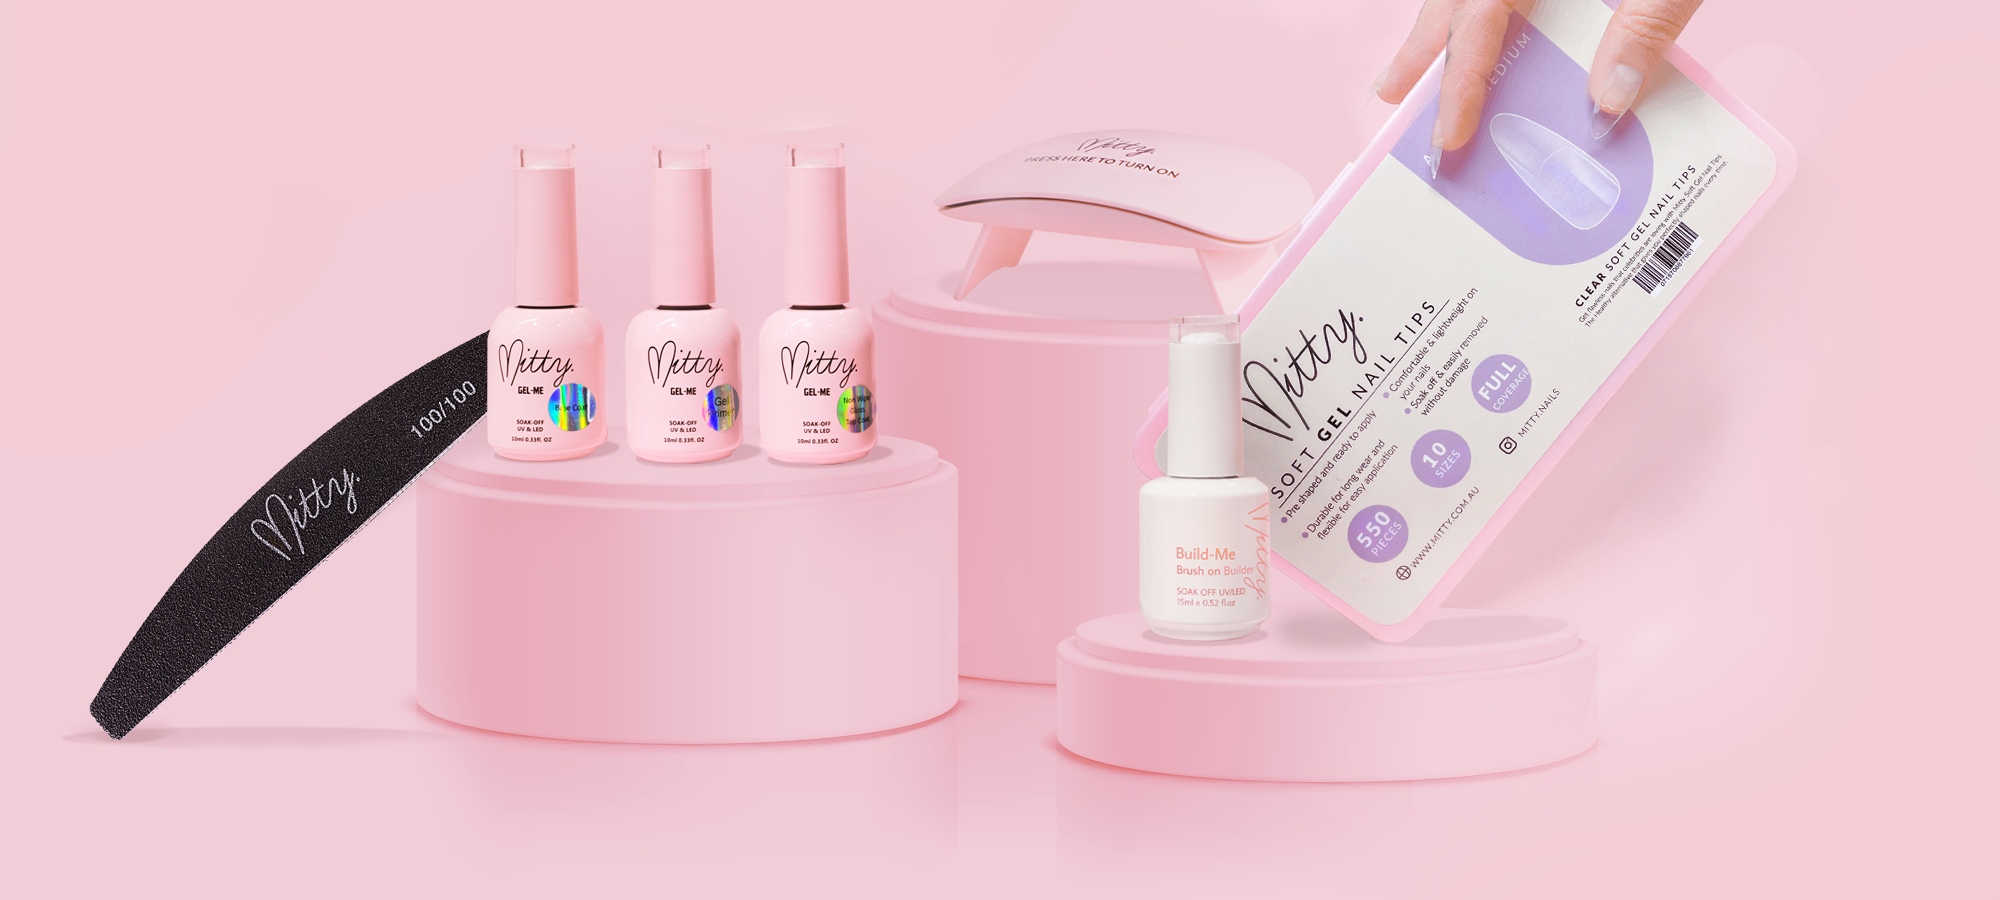
- Shape your nails using a Mitty 180 grit nail file.
- Gently push back your cuticles and remove any excess skin from the nail plate.
- Lightly buff the surface of the nail to remove the natural shine, paying attention to the sidewalls.
- Clean away any dust using Isopropyl Alcohol or Acetone.
- Avoid touching your nails afterwards to keep the surface free from oils.
Next, apply a thin layer of Mitty pH bonder, followed by Mitty gel primer to help improve adhesion.
Step 2: Apply the Base Layer
Apply a thin layer of builder gel over the entire nail and cure according to your lamp's recommended curing time.
Don't wipe the cured layer, as this will help the next layer bond properly.
🎥 Watch our BIAB application tutorial for helpful tips and techniques

Step 3: Build the Apex
Working one nail at a time, apply another thin layer of builder gel.
Place a small bead of product just below the cuticle and gently guide it towards the free edge to create a soft apex. This gives your nails strength while keeping the finish natural and balanced.
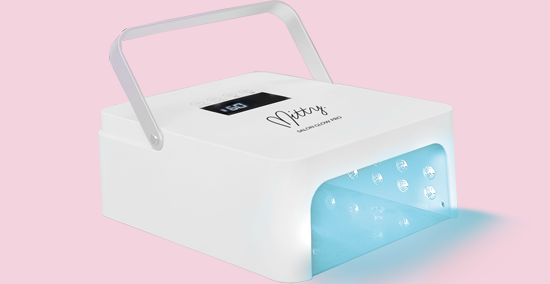
If needed, use a fine brush to guide the gel before curing using the Mitty Cordless Nail Lamp.
Not sure where the apex should sit?
🎥 This quick tutorial shows exactly how to create the perfect apex

Step 4: Cure and Finish
Cure each nail according to your lamp's instructions.
Once all nails are complete, you can leave the BIAB as it is for a natural look or apply your favourite Mitty gel polish before finishing with a Mitty top coat.
Finish by applying Mitty cuticle oil to nourish your nails and surrounding skin.
Pro Tip: How to Reduce Heat Spikes
It's normal to feel a warming sensation while curing builder gel, particularly when creating the apex.
If this happens, simply remove your hand from the lamp for a few seconds before placing it back in to finish curing.
🎥 Watch this quick tip on how to minimise heat spikes

Troubleshooting: Why Is My BIAB Lifting?
If your BIAB lifts from the tip of the nail, the cause is usually one of these:
- The nail wasn't prepared properly.
- Natural oils or dust were left on the nail.
- The free edge wasn't fully sealed.
- The product came into contact with the surrounding skin.
Taking a little extra time during preparation can make a big difference to how long your BIAB lasts.
🎥 Watch this Reel to learn how to prevent lifting at the tip
How to Remove BIAB
Removing BIAB correctly helps keep your natural nails healthy.
- File away around 80–90% of the builder gel without filing into your natural nail.
- Soak a cotton pad in pure acetone and place it over the nail using soak-off clips or wraps.
- Leave it on for 5–10 minutes.
- Gently remove the softened gel with a cuticle pusher or scraper.
- If needed, repeat the soaking process instead of forcing the product off.
- Lightly buff the nail and finish with cuticle oil.
Frequently Asked Questions
Does BIAB damage natural nails?
No. When applied and removed correctly, BIAB can actually help protect natural nails. Damage usually occurs when the product is peeled off or over-filed during removal.
How long does BIAB last?
Most BIAB manicures last 2 to 4 weeks, depending on your nail growth, lifestyle and aftercare.
Can I apply gel polish over BIAB?
Yes. Once the builder gel has cured, you can apply gel polish directly over the top without needing another base coat.
Why are some builder gels clear while others are coloured?
Clear builder gels provide a neutral base, allowing you to change your gel polish colour whenever you like. Coloured builder gels already contain pigment, making them a quicker option if you prefer a finished look without adding colour afterwards.
Final Thoughts
Doing BIAB at home takes a little practice, but once you master the basics, it's a great way to achieve stronger, longer-lasting nails.
Take your time with nail preparation, apply thin layers and don't rush the curing process. If you're ever unsure about a technique, the video tutorials above are a great place to start.
Happy BIAB-ing!


Leave a comment